A compilation of Sportster fixes
Blog BOM Custom Design
Garage OSARM Repair Smörg

Harley 12-volt 65B generator rebuild

A guide to rebuilding the Hitachi 12-volt generator used on Sportsters 1982-1984. pdf version
The tips and tricks:
  1. The armature is what usually fails.
  2. There are NOS Harley armatures on eBay for $90.
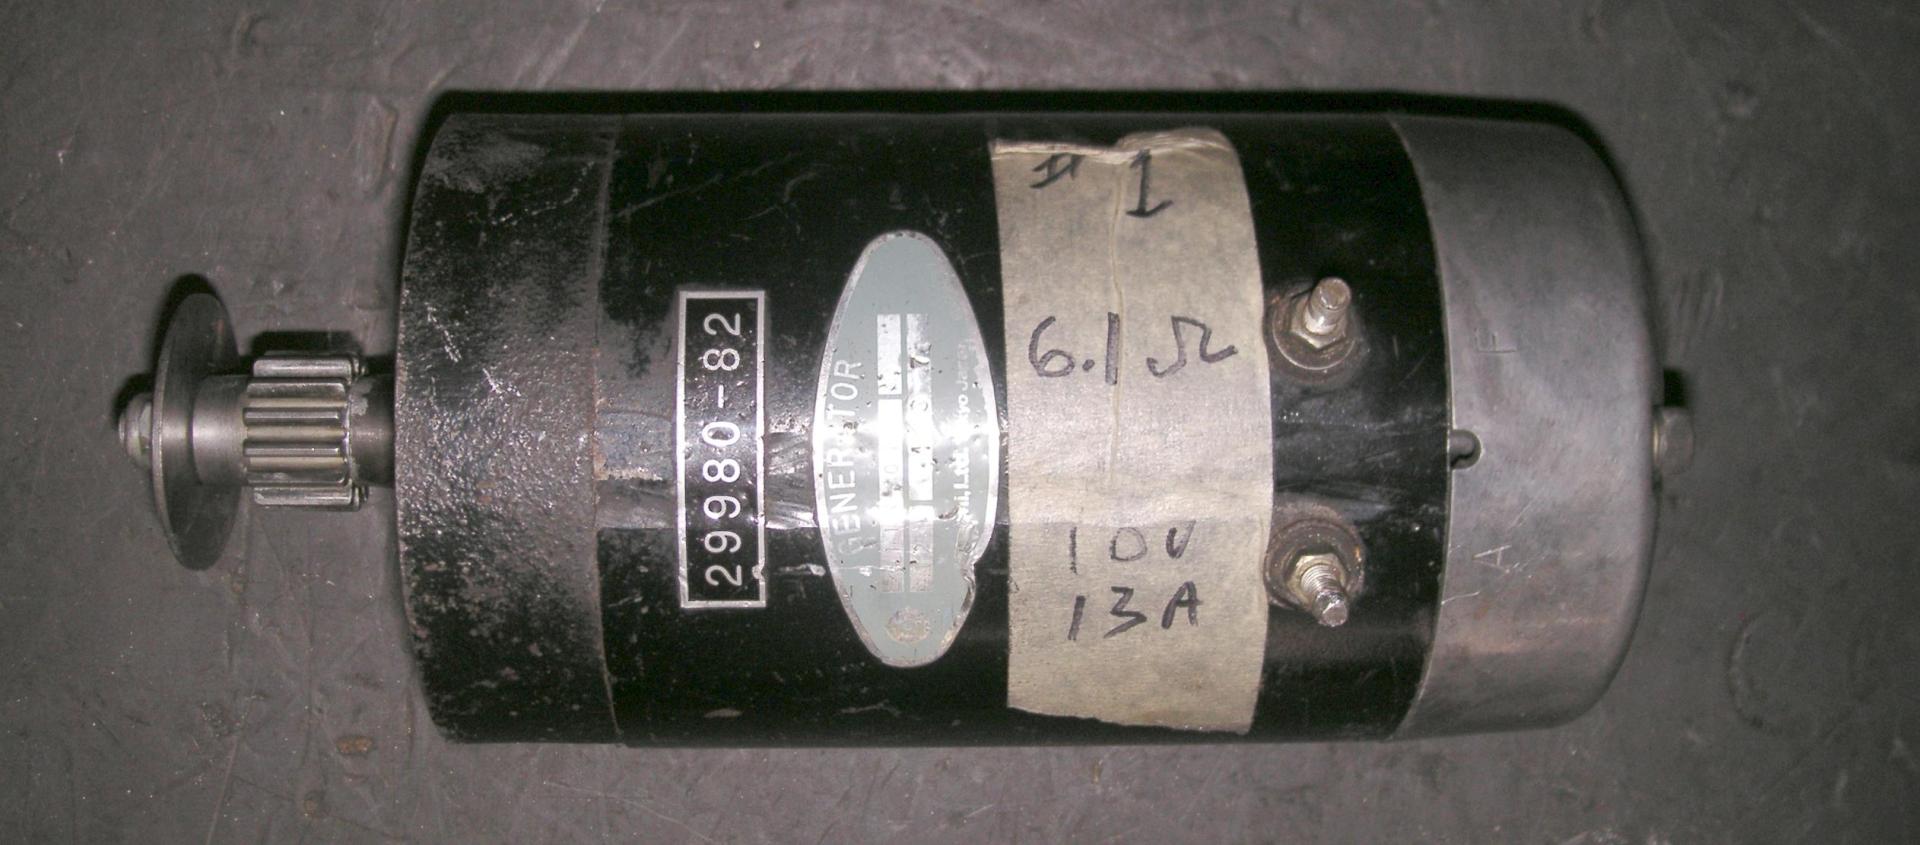
  3. The field coils should measure around 6 Ω (ohms) resistance.
  4. The armature comes with sealed bearings installed.
  5. You may need a puller to remove the gear.
  6. If you have to tap the armature out of the end bell, put several nuts on the threads to protect them.
  7. Seals often crack and leak due to heat damage.
  8. Be sure to locate the roll pins on the frame with holes in the brush plate and end bells.
Iron Sportster generator rebuild
A video shows the rebuilding of a Harley Model 65B 12-volt generator. This article has more details. (Click for video.)


The Hitachi Model 65B generator is used on 1982, 1983, and early 1984 Sportsters. In late 1984 they put a total-loss permanent magnet alternator under the clutch hub for several years, before putting it behind the engine sprocket like big bikes have done since they got an alternator.

The Model 65B is bigger and longer, puts out at a lower RPM, and can output 13 Amps instead of just 10 Amps like the Model 65A. Generators with a polished aluminum cap are part number 29975-65B. Generator with a black cap are 29978-77A. It was used on the1982 XLS and XLX models.

The 65B is better designed and built than the Prestolite 65A generator. It slips apart and back together without a lot of pounding. Note the mechanically damaged armature in this unit is very rare, and it even kept working. The links to products are my pal's Amazon Affiliate links.
Bottom of first column move down to the left
Sportster-65B-generator_001
The Model 65B, part number 29975-65B. The big oil-slinger washer on the gear means you have to tilt the end down to get the generator out of your bike.
Sportster-65B-generator_002
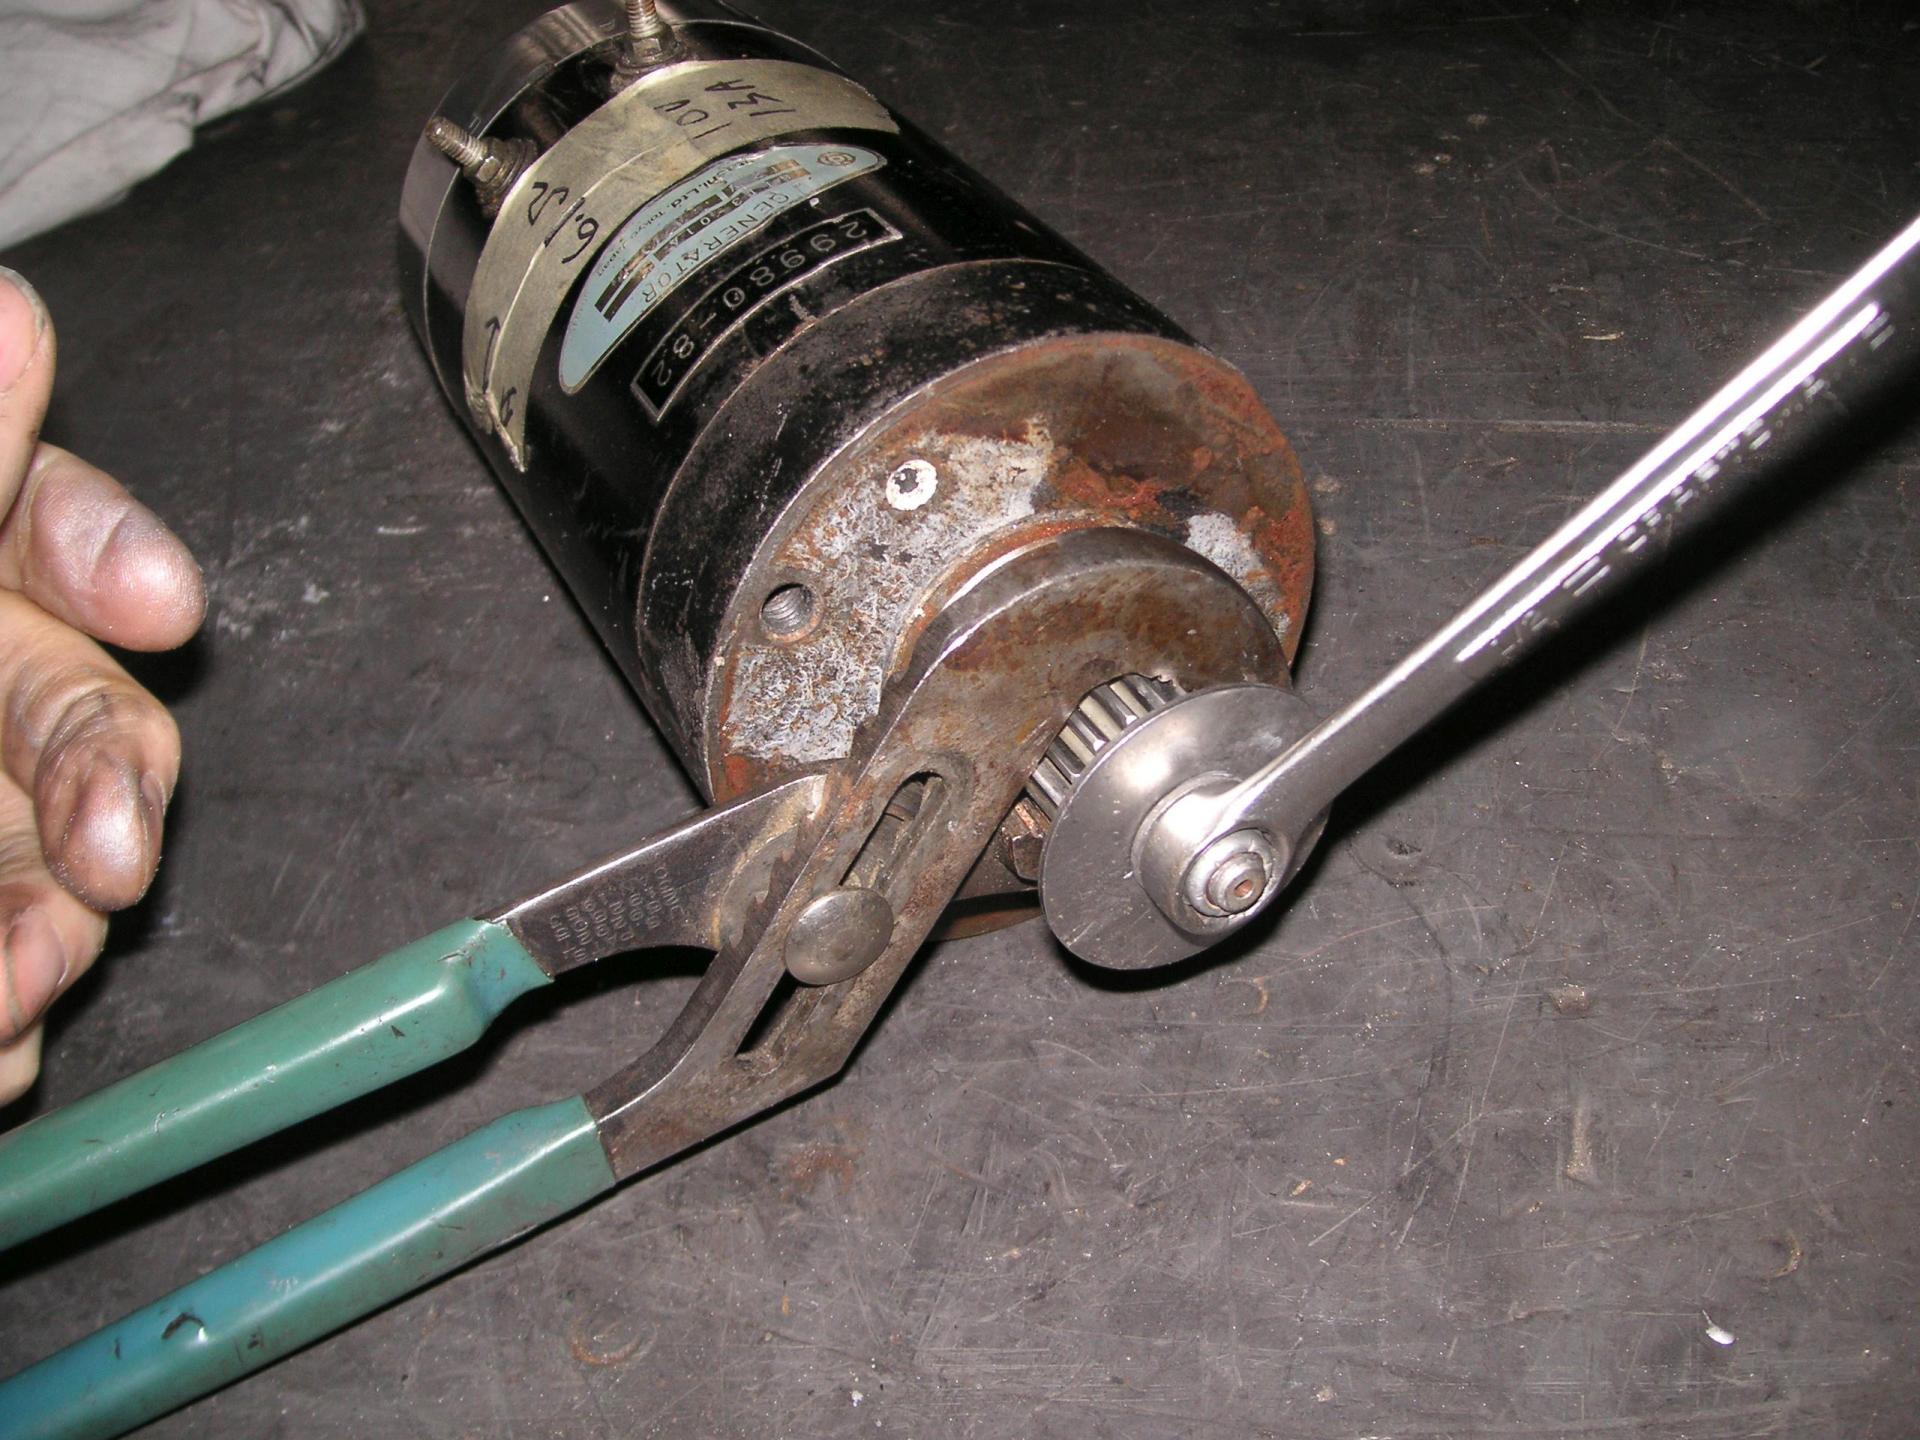
I prefer Channel-Locks on the gear rather than using an impact wrench. 1/2" wrench.
Sportster-65B-generator_003
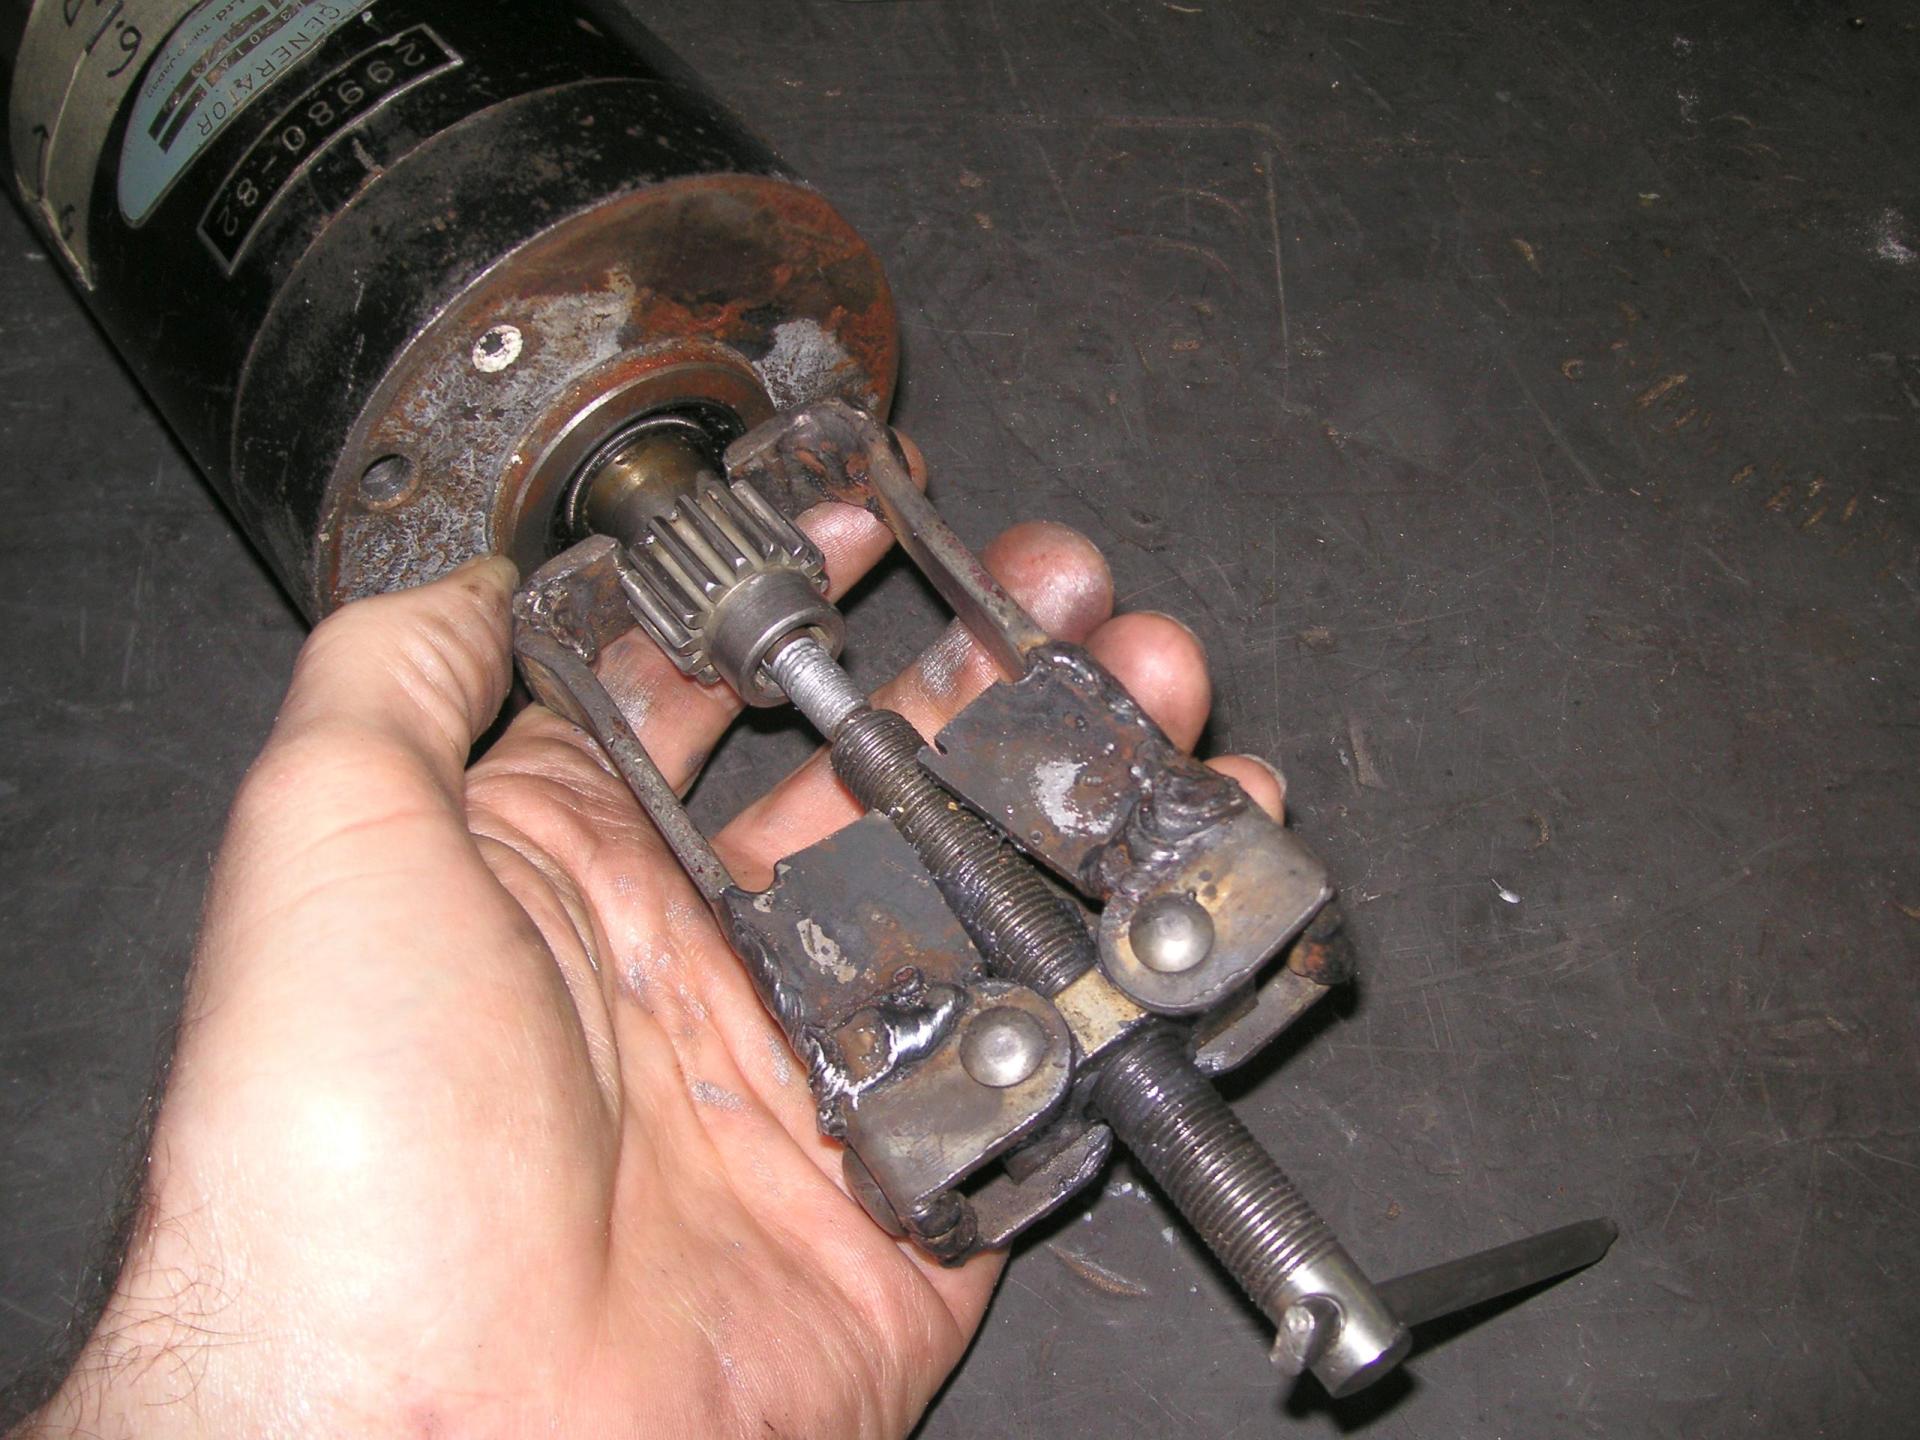
This welded-up Chinese puller gets the gear off. Don't pry or use a slide hammer. Sometimes a claw puller will work, or even a battery post puller. I use anti-seize putting it back together, so it comes apart easier the next time.
move up a little to the right move down to the left
Sportster-65B-generator_004
Some guys glue the gasket on so it does not rotate when they install the generator. This guarantees you can't re-use it.
Sportster-65B-generator_005
The gear nut is 5/16-24 English, but the rest of the generator is metric. 5 mm.
Sportster-65B-generator_006There is a thrust washer in the end cap, Set end play to 0.004"-0.10" on assembly.
move up a little to the right move down to the left
Sportster-65B-generator_008
Hitachi generators seem more precisely built, they usually just come apart when you pull, no hammer needed..
Sportster-65B-generator_009
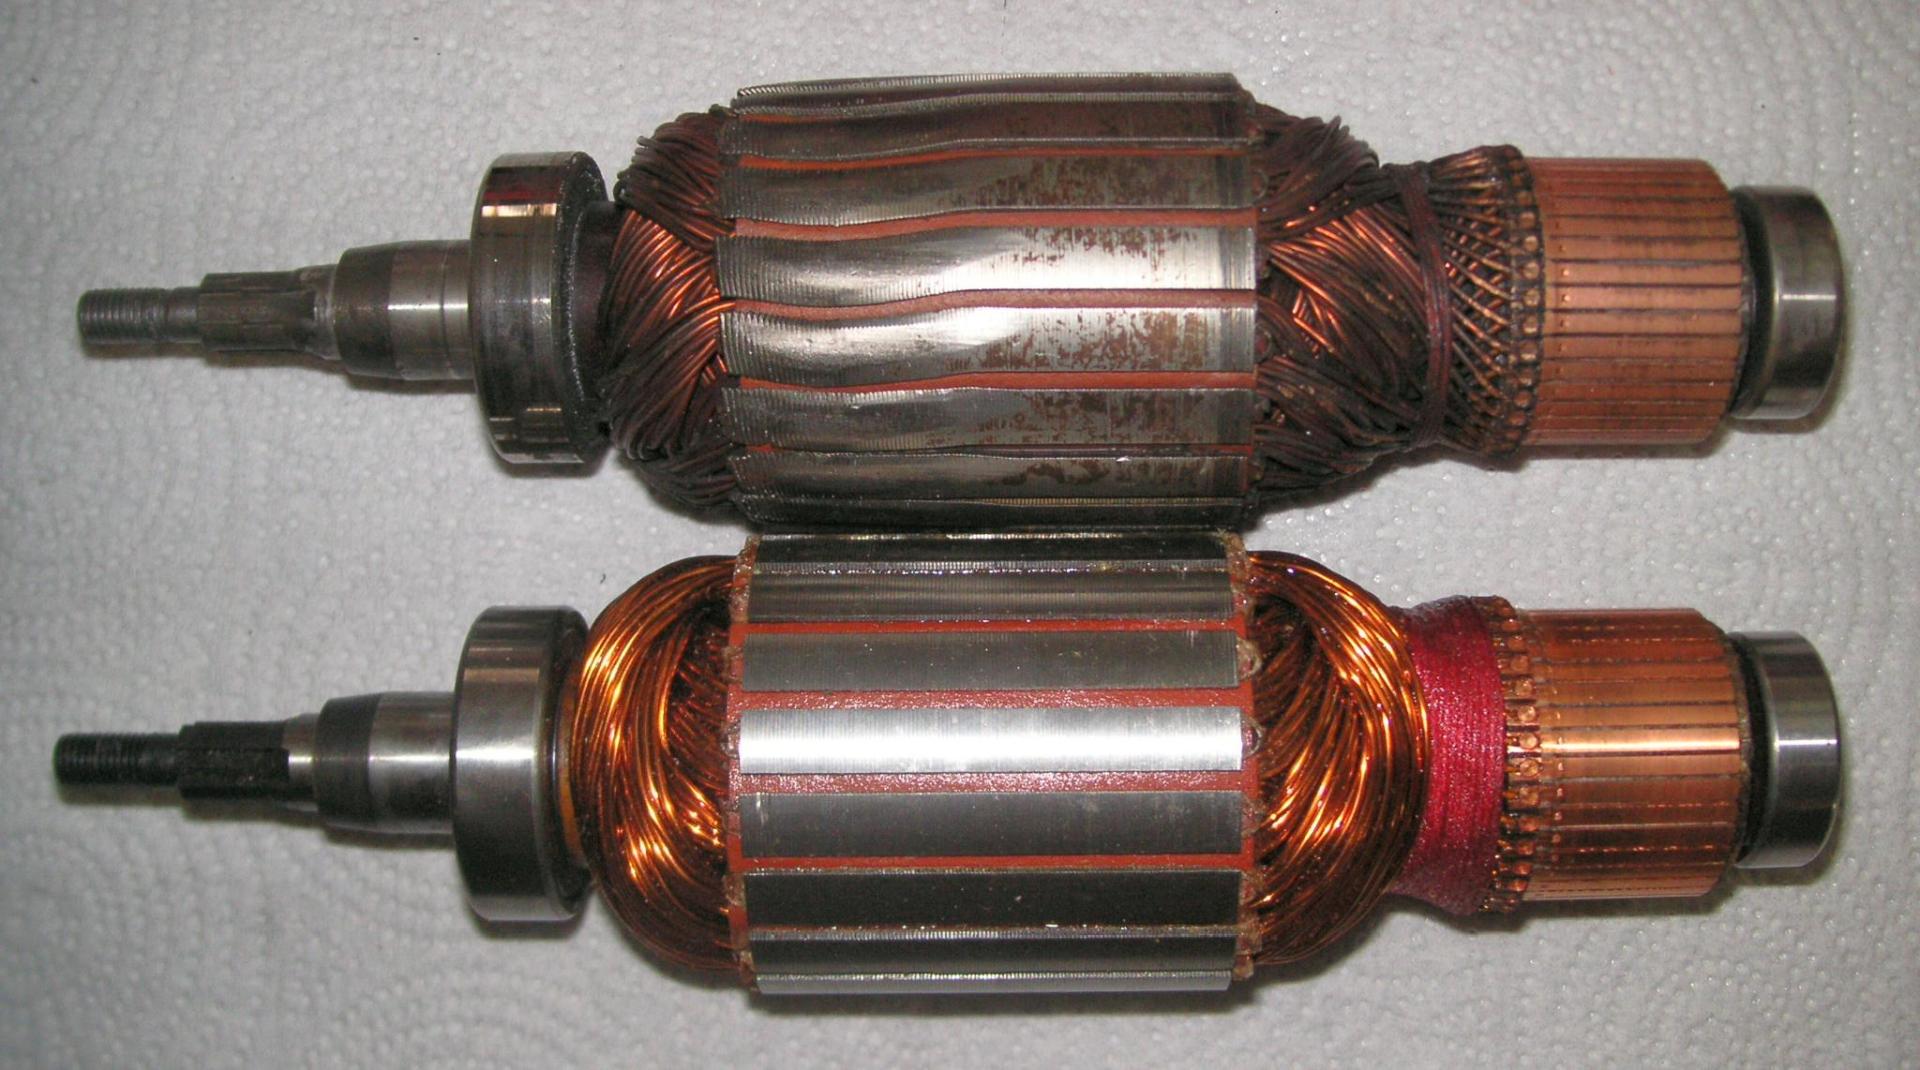
In all my years I have never seen an armature have shifted lamination. It also looks like it has impact damage from hitting the pole shoes. This generator still had output in my tester.
Sportster-65B-generator_010
The ball bearings are available separately, 29917-82 for the gear side, 29916-82 for the end cap side. You could pull off the old bearings by the outer races, but be sure to drive the new bearings on by pressing on the inner races. Don't press or hammer "across the balls". Check end play after.
move up a little to the right move down to the left
Sportster-65B-generator_007
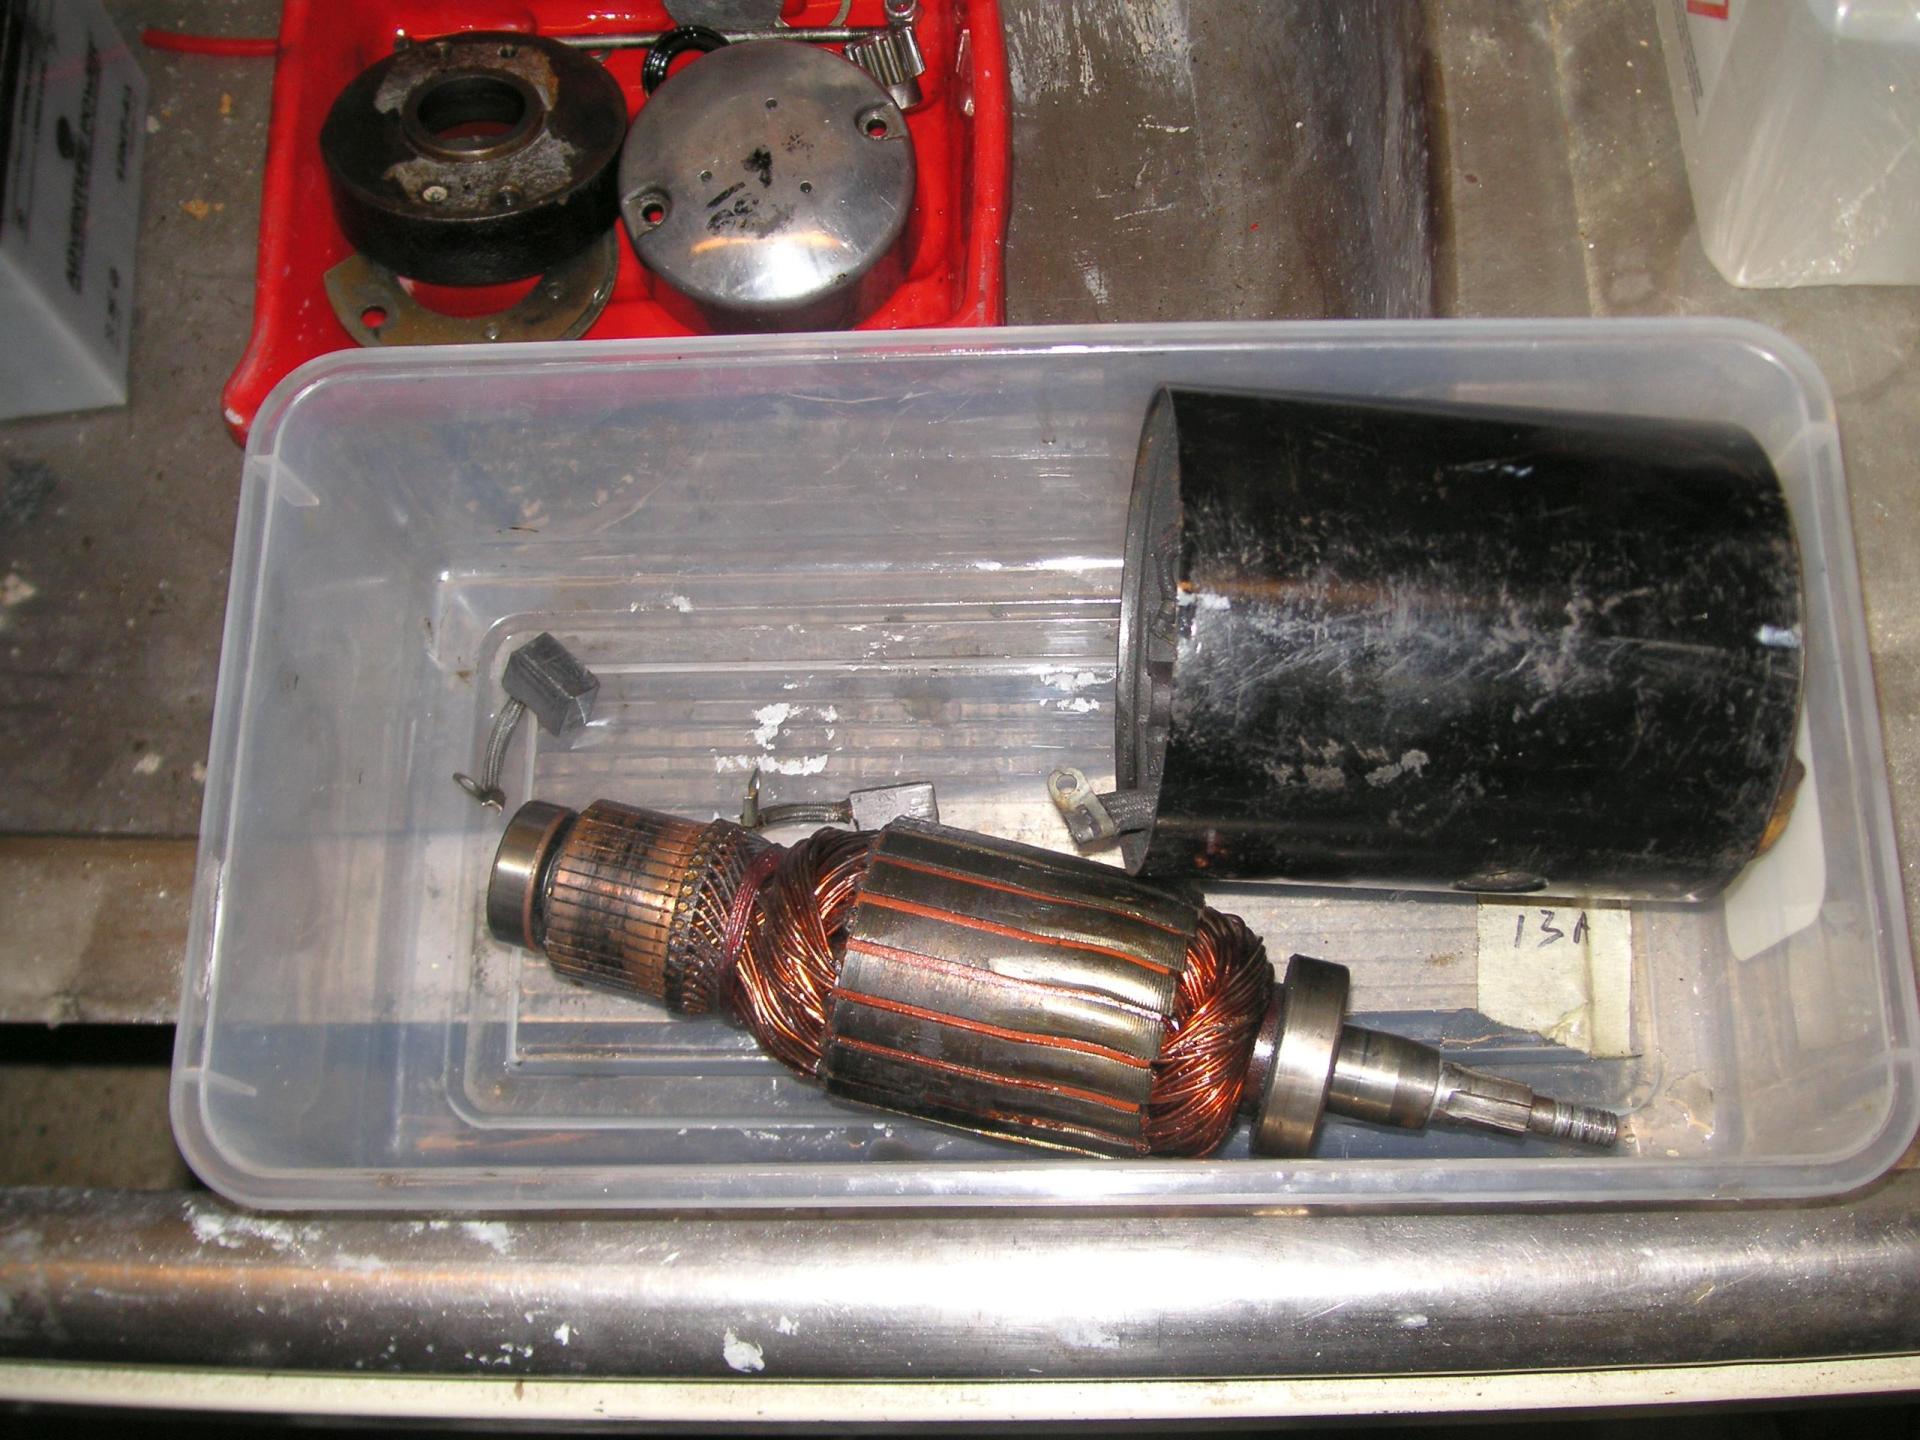
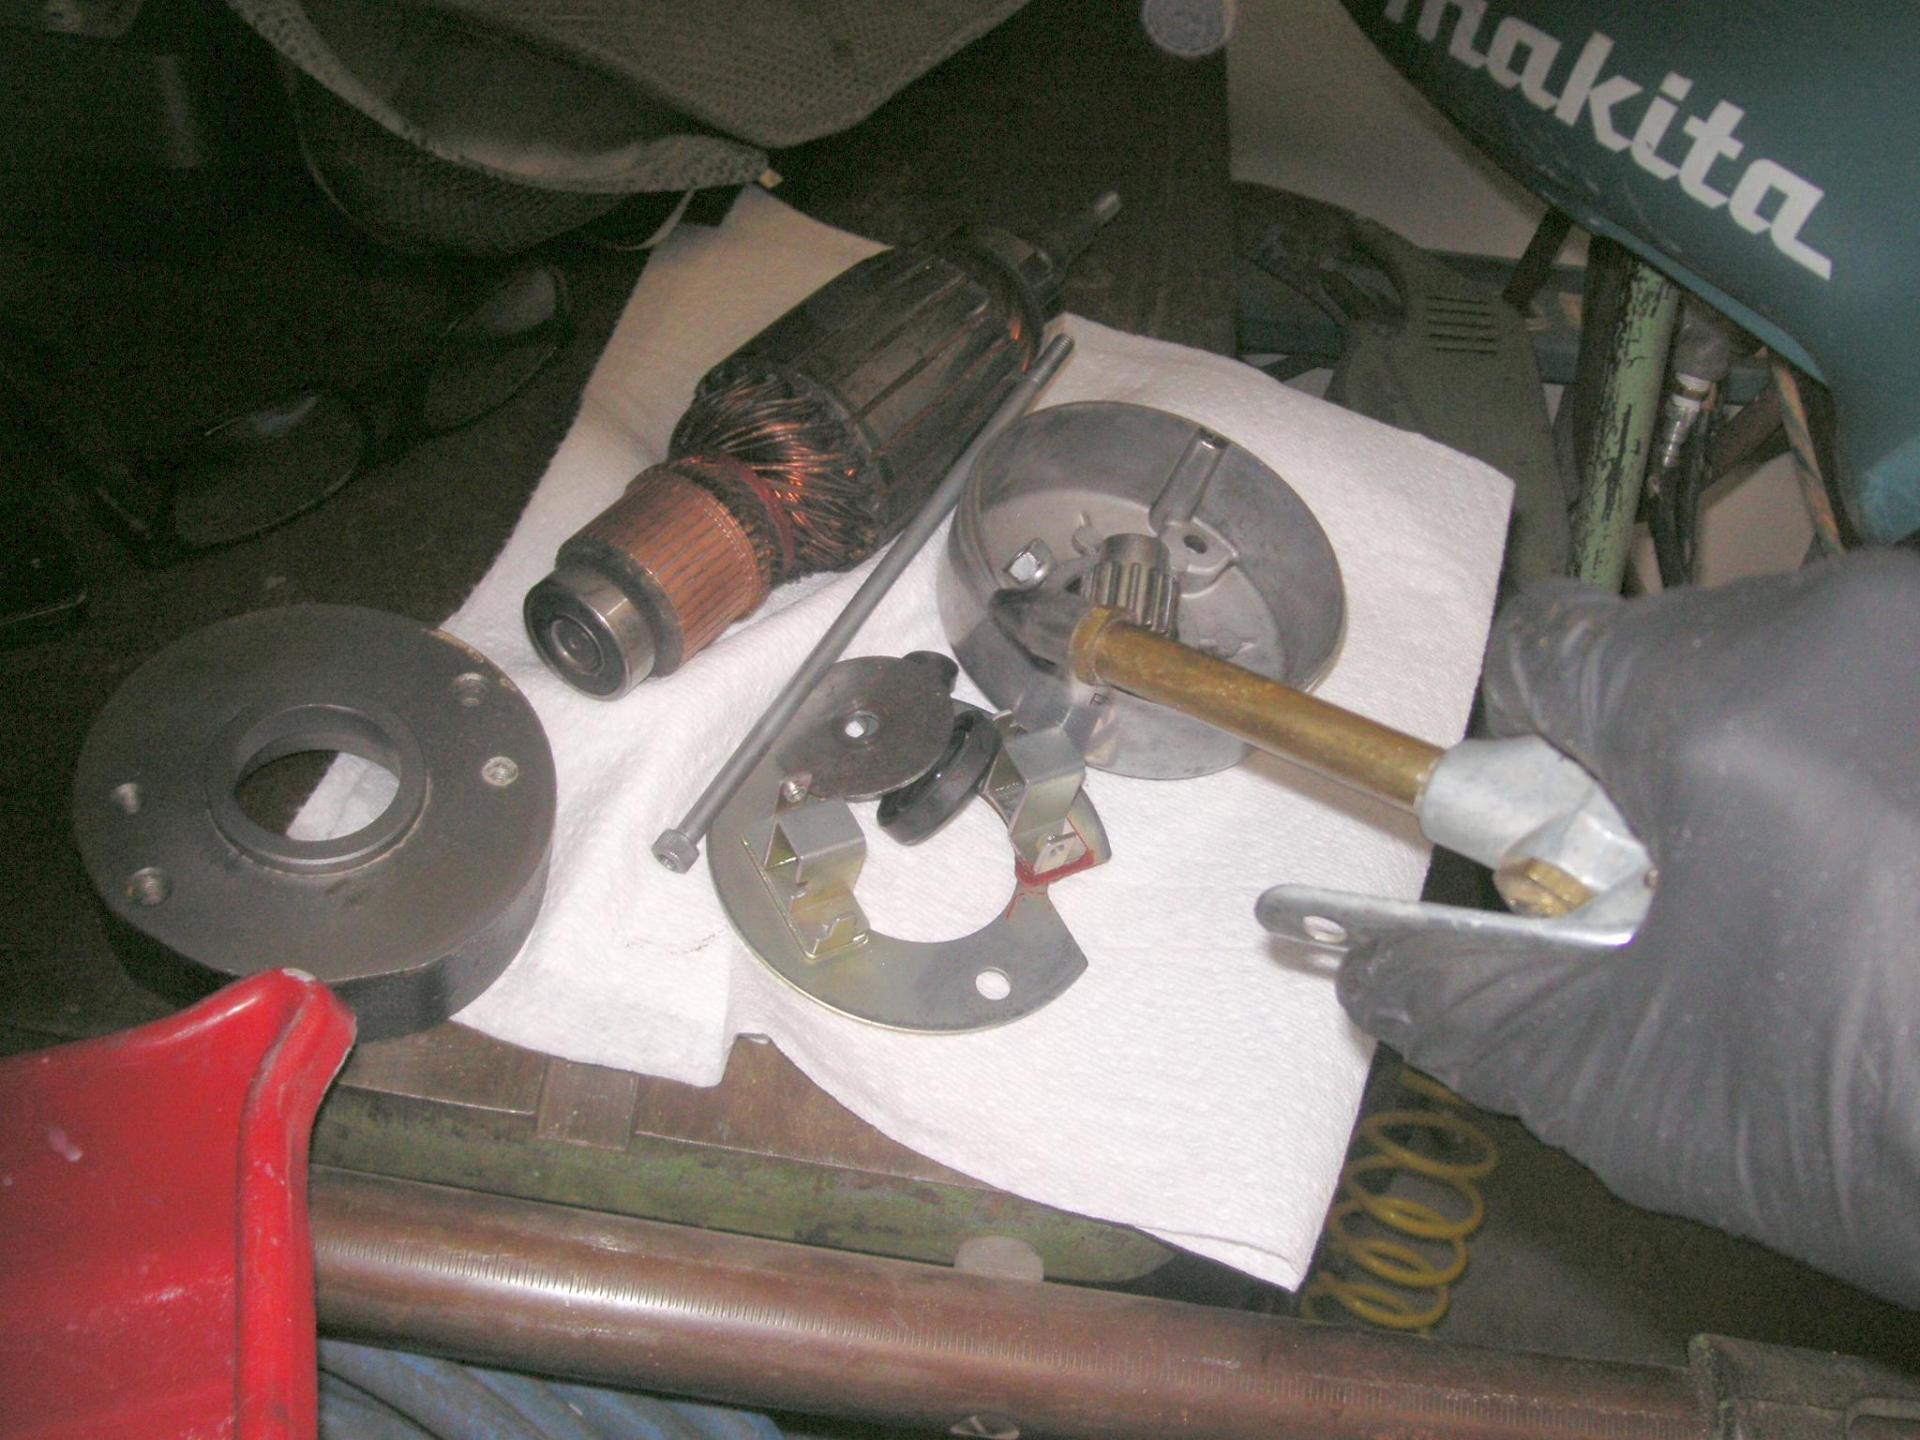
Keep the parts in a bin, like a professional shop would. Then you won't spend hours looking for something that slid off the bench.
Sportster-65B-generator_011
The armature usually slides out with the bearing still attached. If you have to tap it out, be sure to put some 5/16-24 UNF nuts on the shaft so you don't damage it.Sportster-65B-generator_012
A 1-inch socket will pound out the seal. This generator had the seal in very stiff, it would not hammer out from this side.
move up a little to the right move down to the left
Sportster-65B-generator_013
I put the end bell on an empty can and hammered out the seal from this side.
Sportster-65B-generator_014
If a #2 Philips screwdriver cannot get the screw out, there are right-angle drives and even a little ratchet drive that might work.
Sportster-65B-generator_015
The brush springs are torsion type pushed on over a tab, you can pull them off.
move up a little to the right move down to the left
Sportster-65B-generator_016
The brushes are different length, with one nearly warn out. This might be due to the missing bolt or sheared off frame roll pins.
Sportster-65B-generator_017
The brush plate with the screws and springs taken out of it.
Sportster-65B-generator_018
The field coils measured 6.2 Ω (Ohms).Sportster-65B-generator_019
The parts in the bin, ready for cleaning.
move up a little to the right move down to the left
Sportster-65B-generator_020
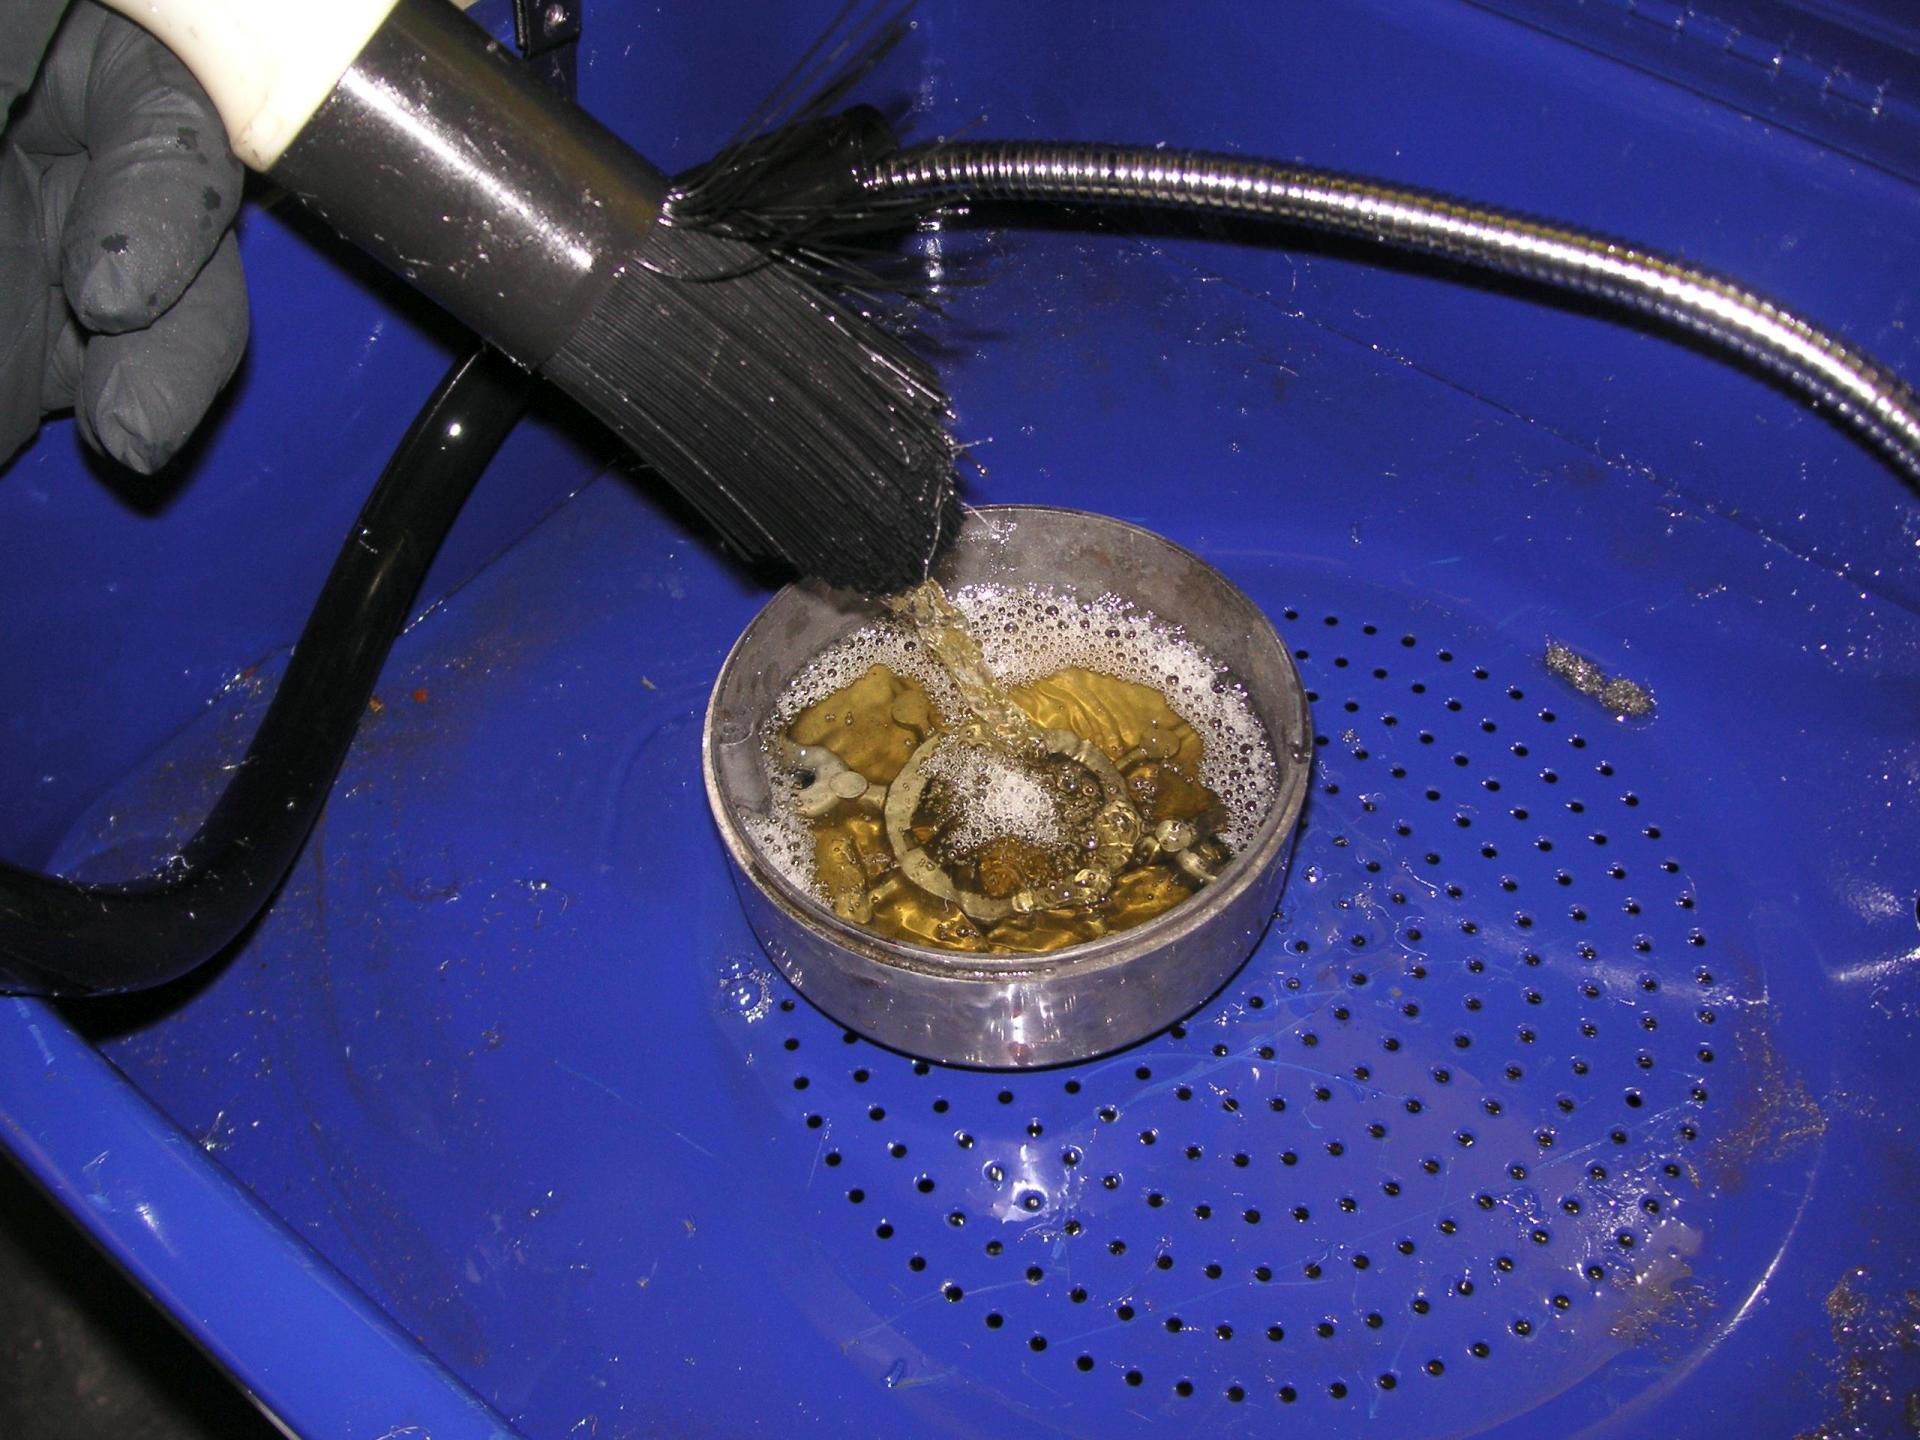
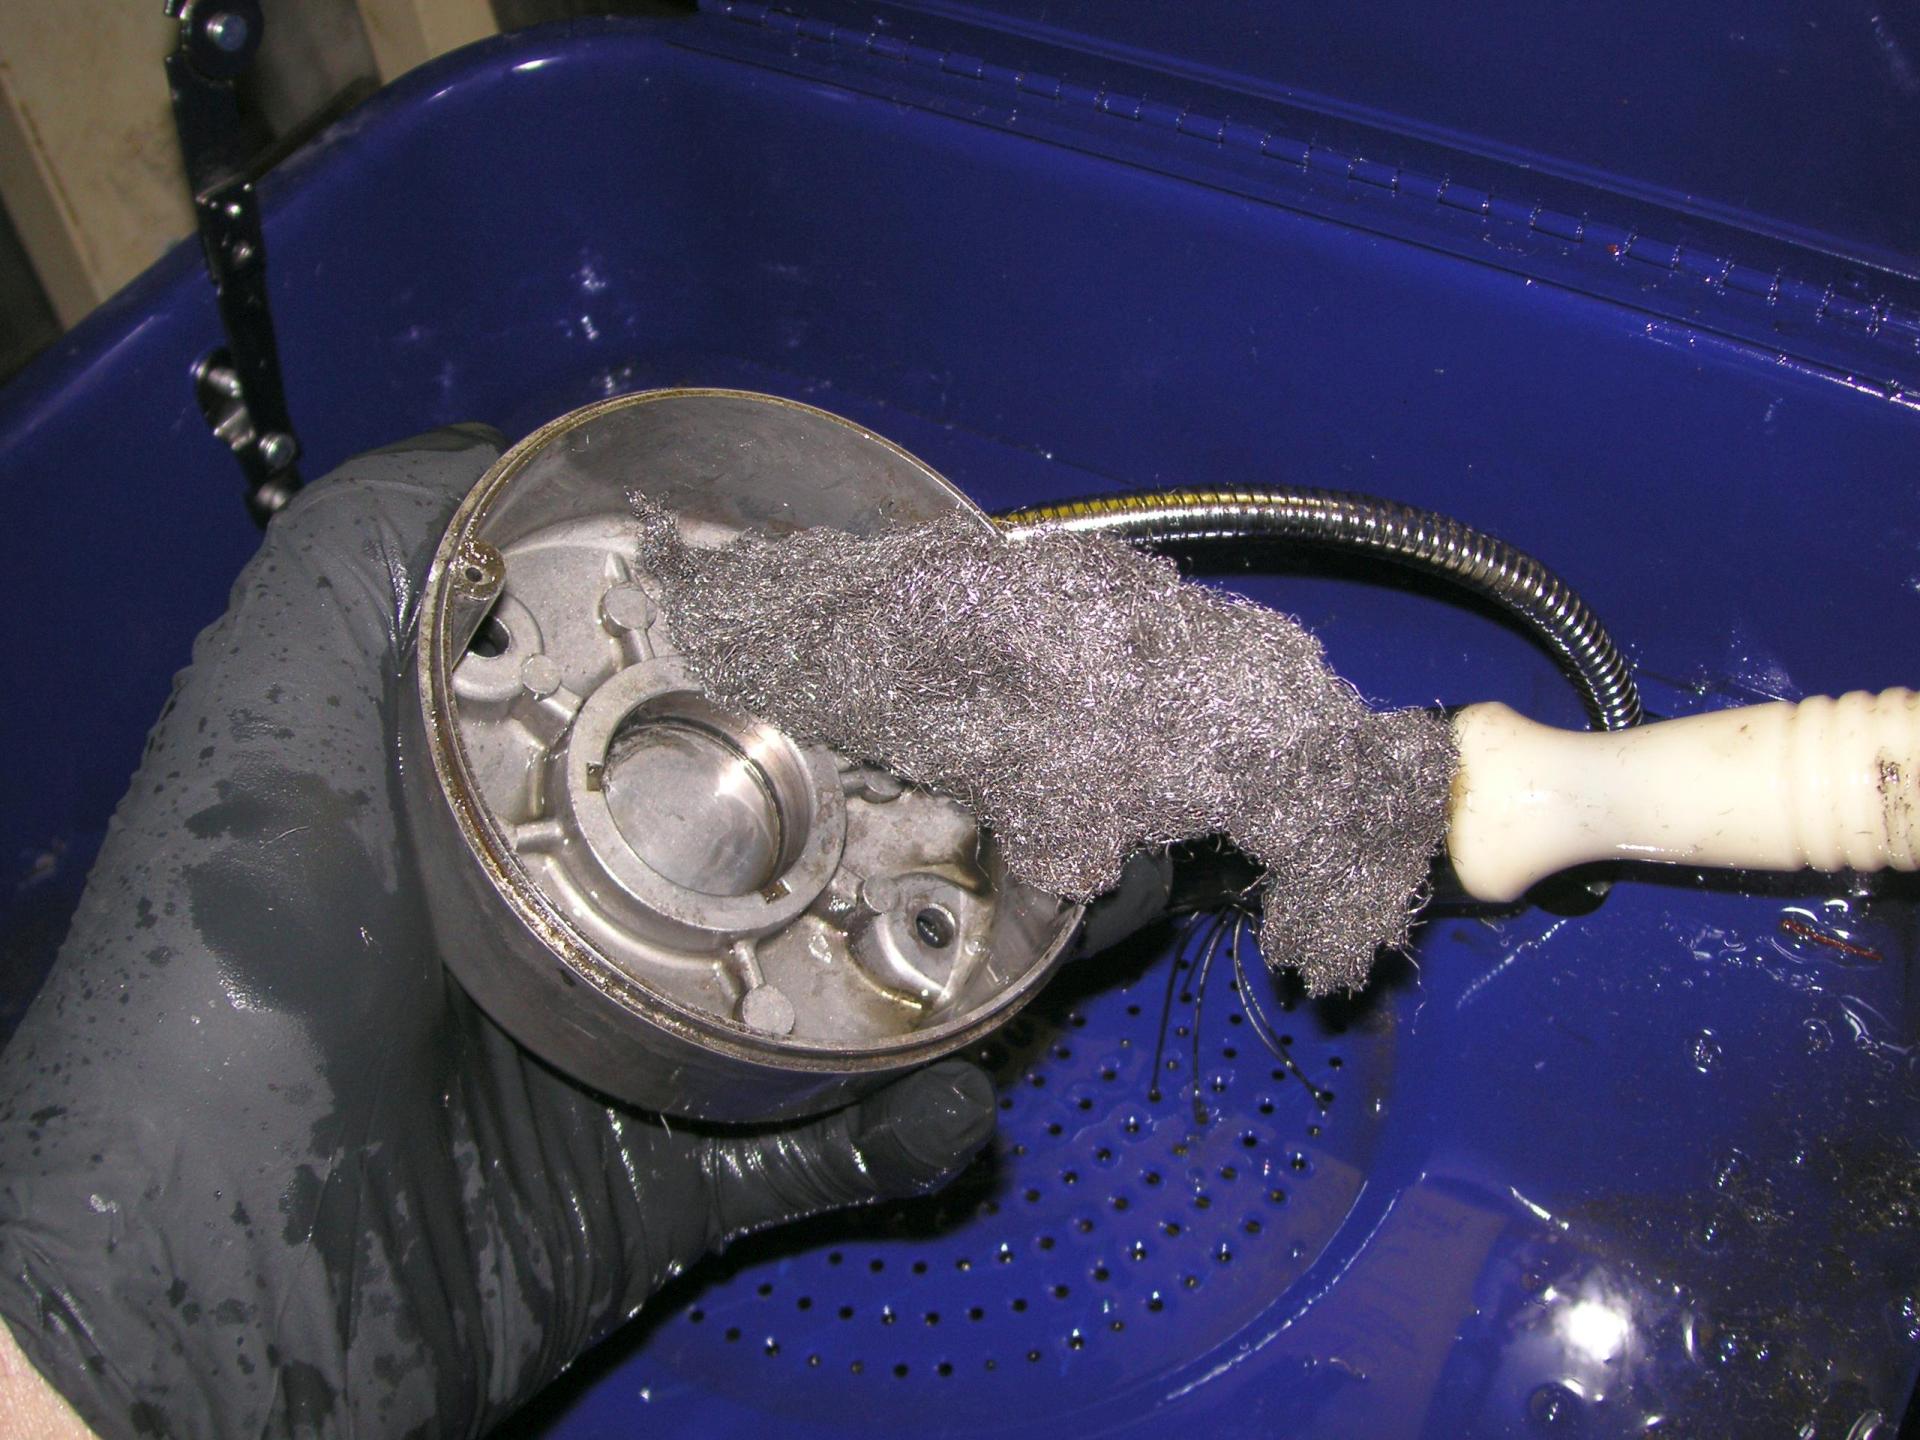
Clean the end bell with solvent. The brush with solvent delivery works really well.
Sportster-65B-generator_021
Steel wool will clean really well. Make sure the bearing bore is clean and smooth.
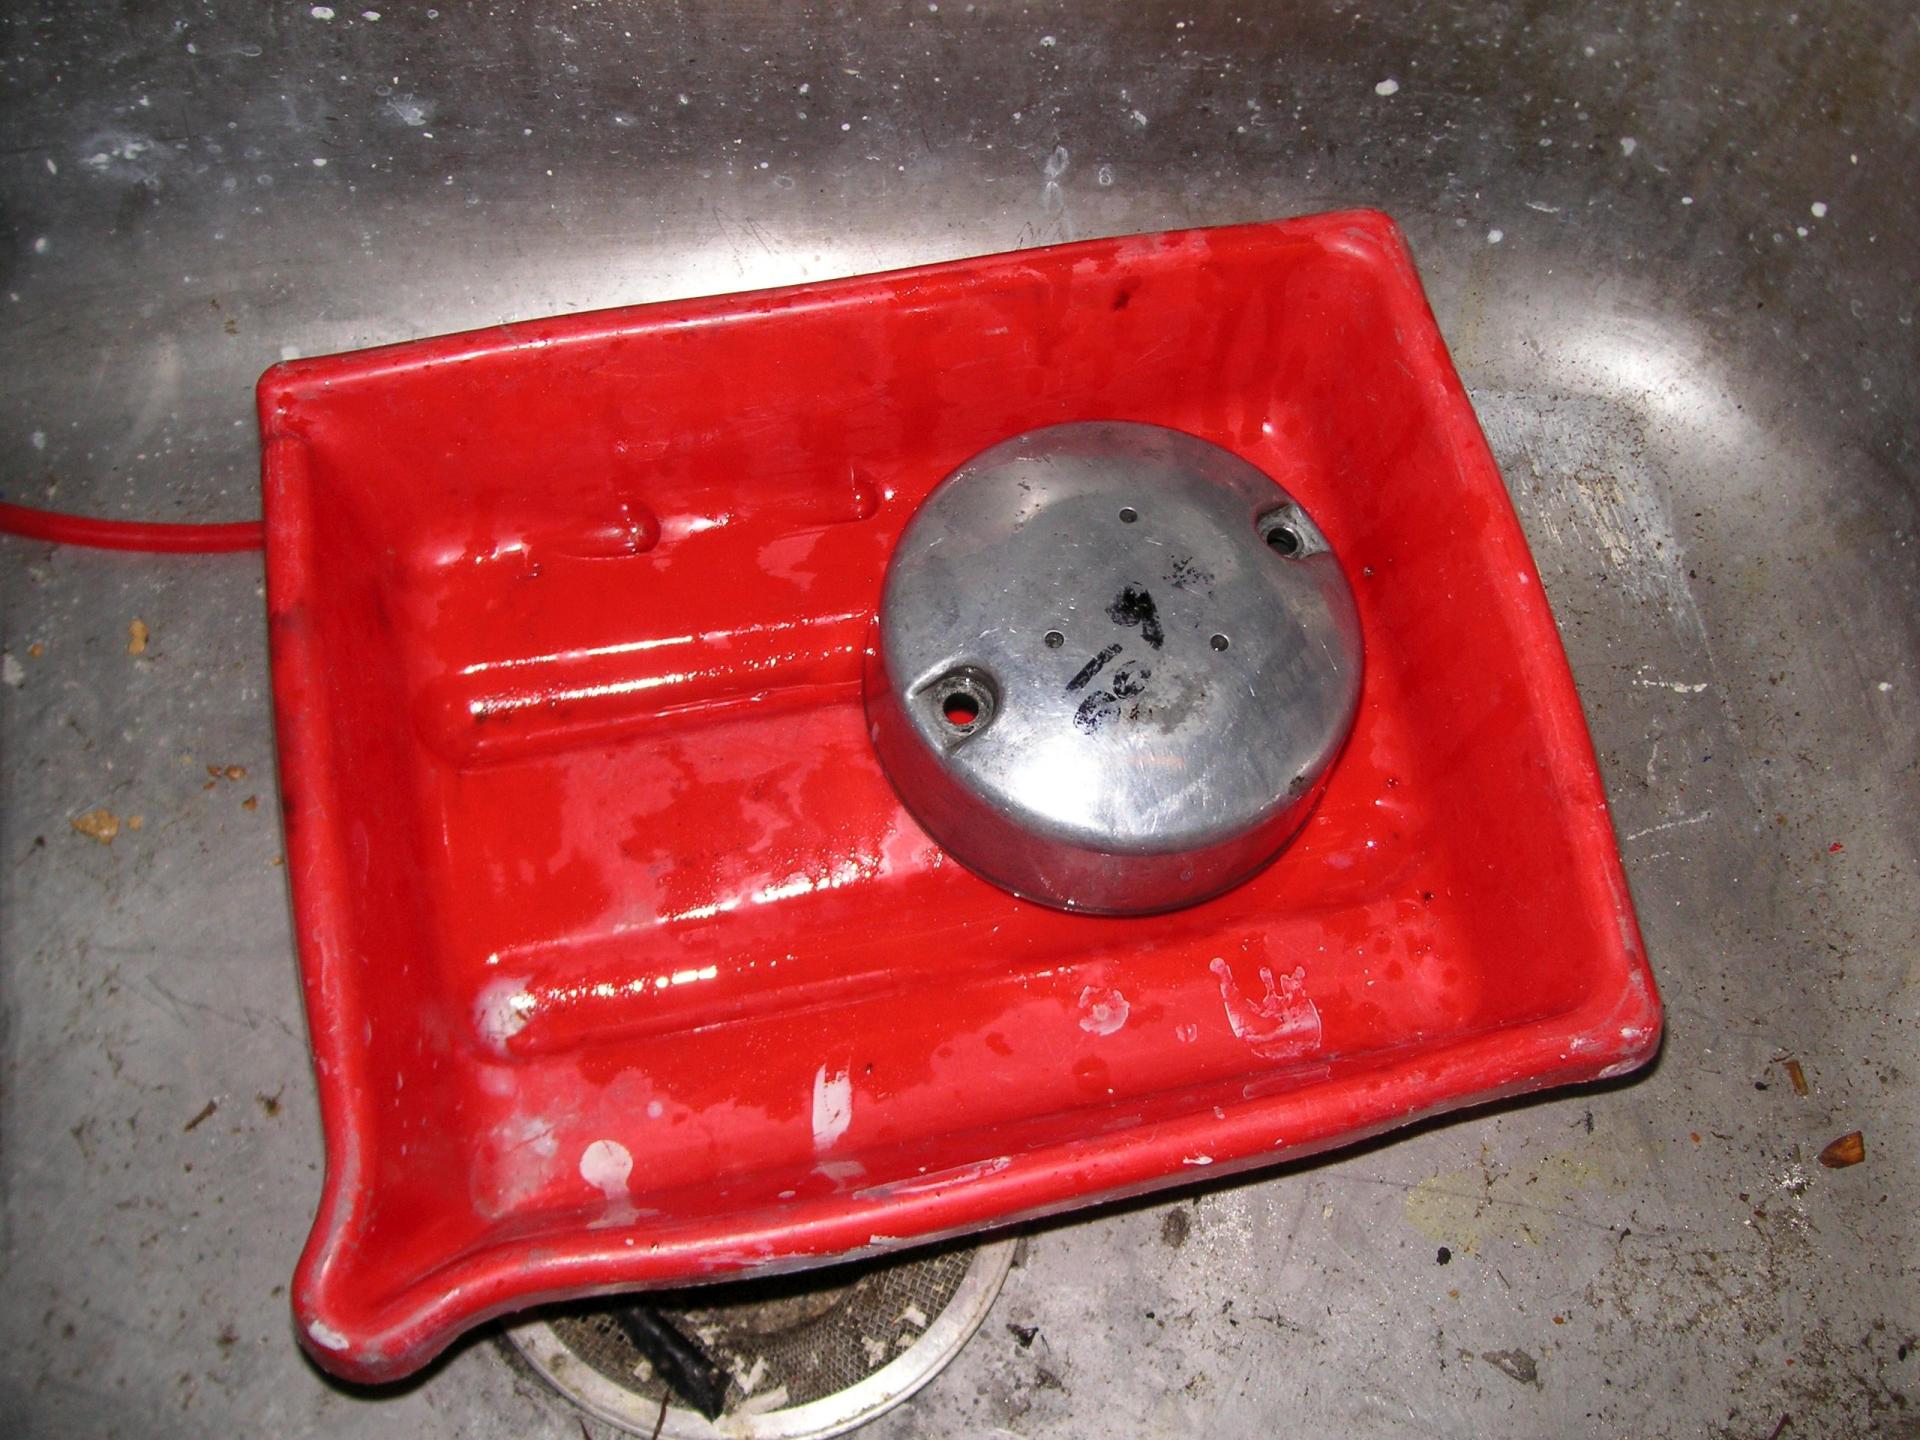
Sportster-65B-generator_022
Another bin holds the parts as they come out of the parts solvent. The first bin stays dry, while this one goes to the sink.
move up a little to the right move down to the left
Sportster-65B-generator_023
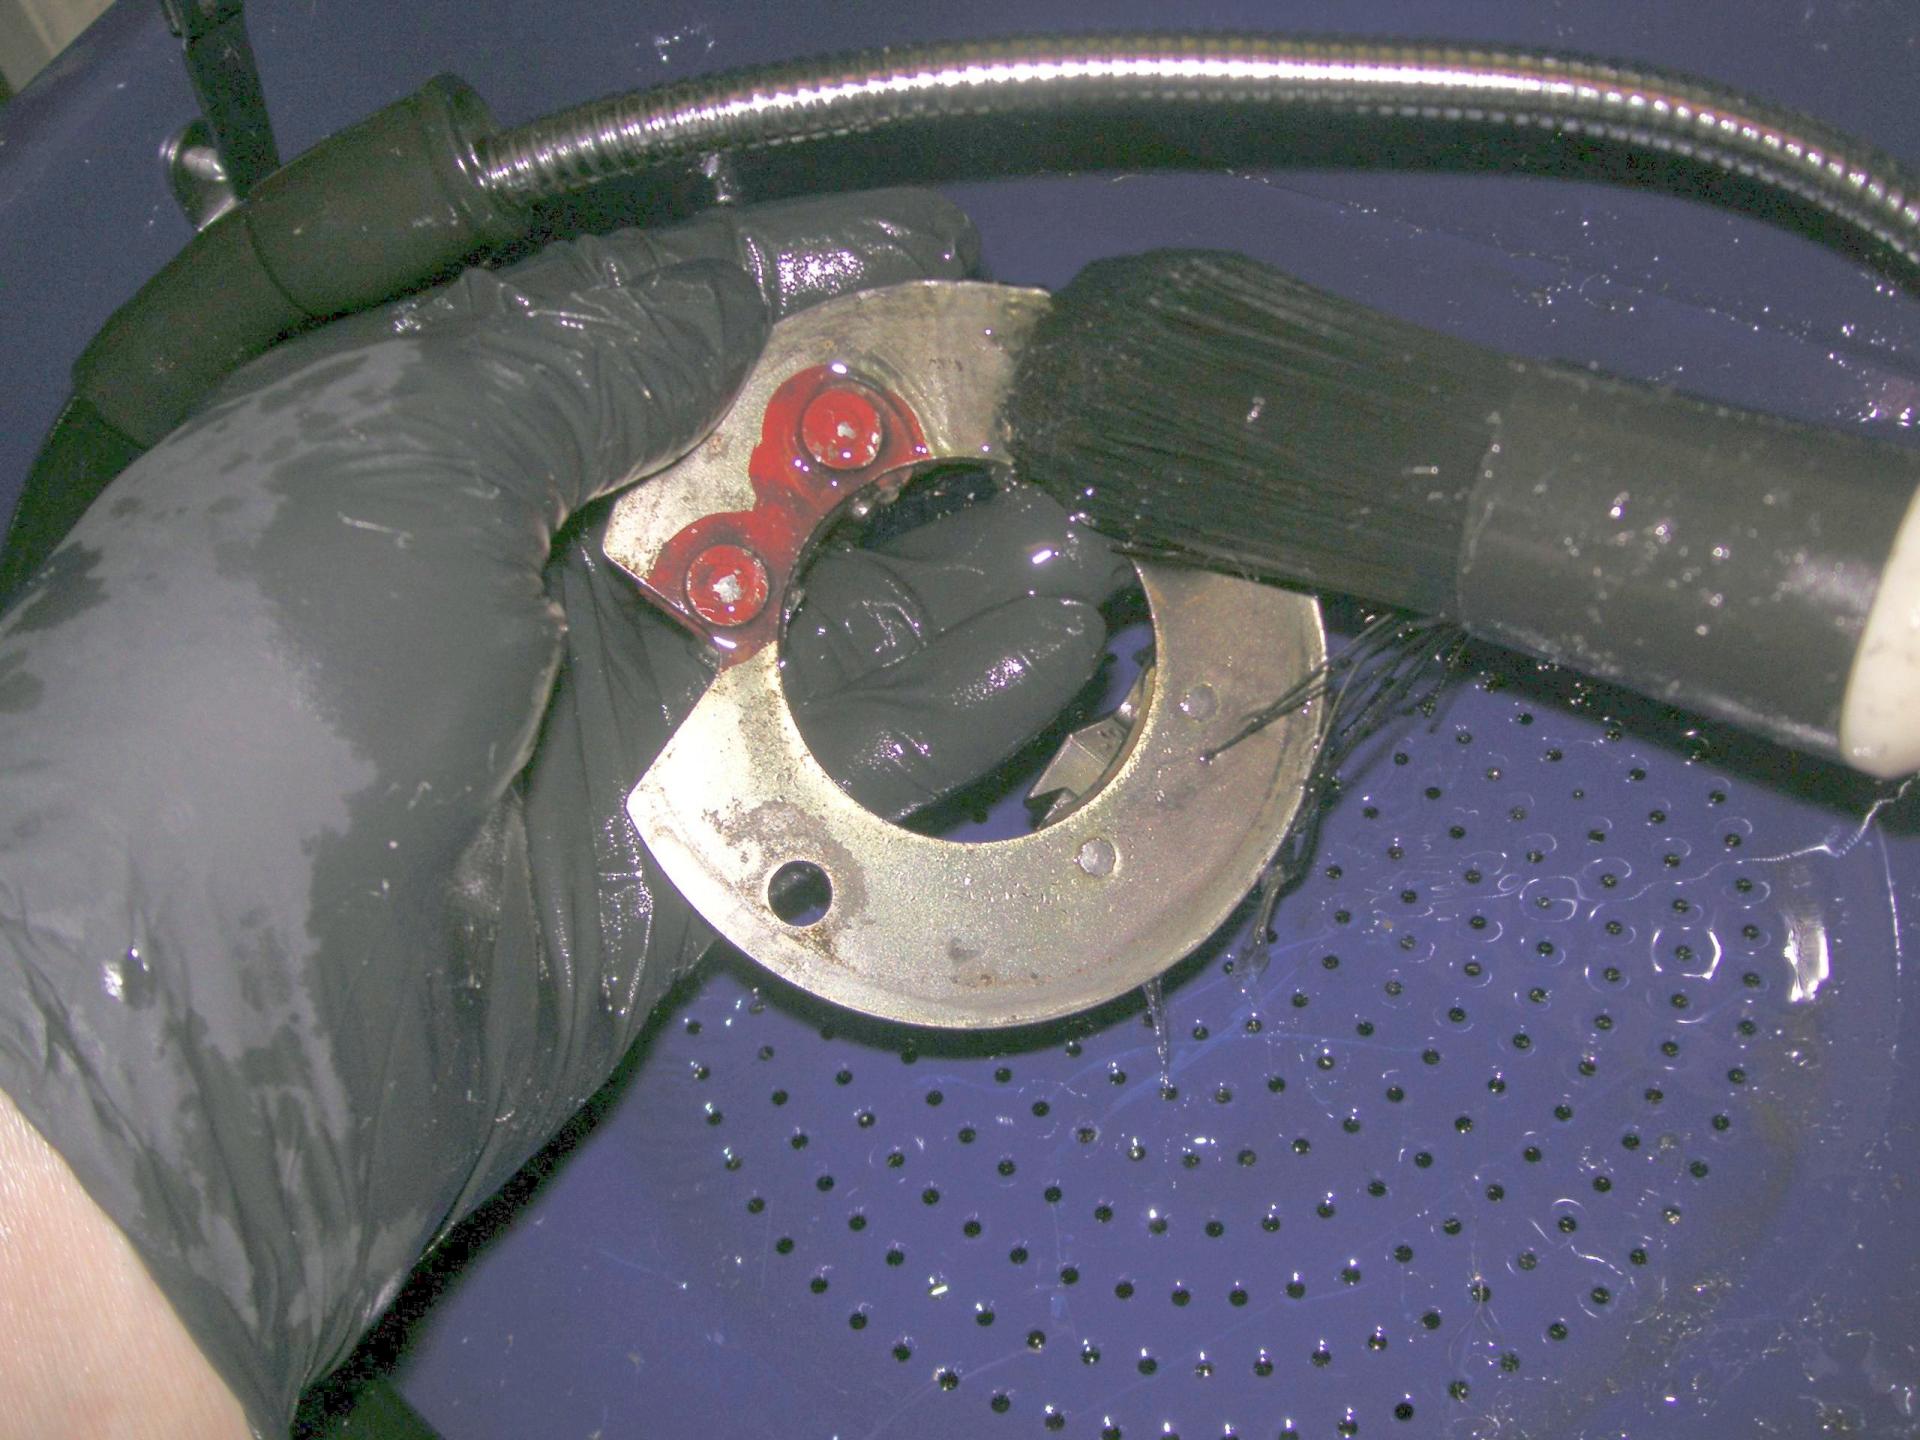
The bush plate cleans up a little, but will also get a light bead blasting.
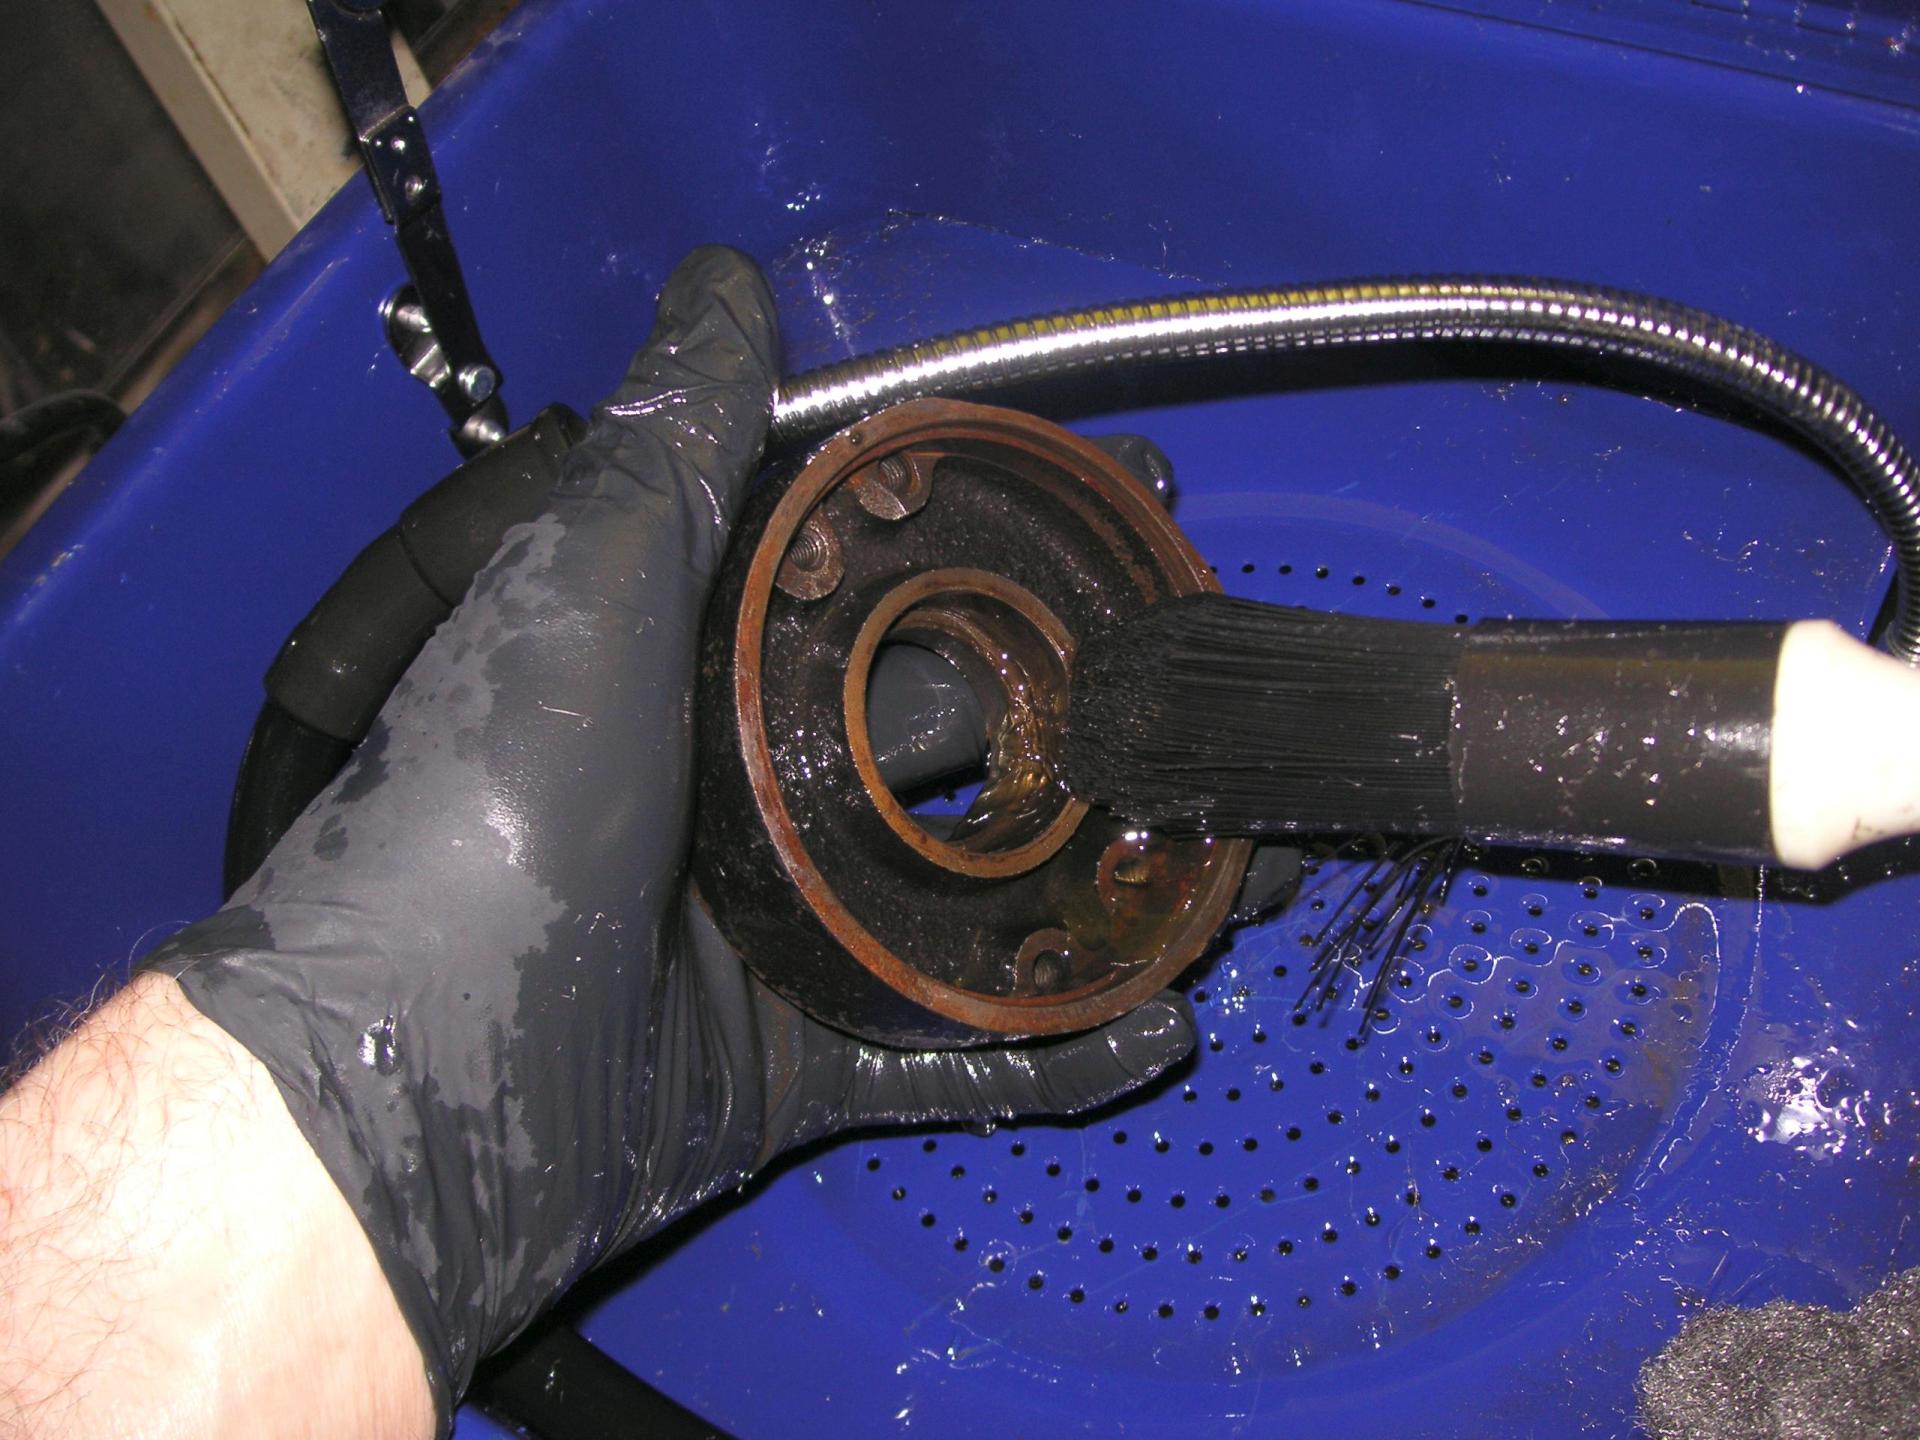
Sportster-65B-generator_024
The drive-side end bell gets cleaned out inside. Aqueous solvent is safer, but I prefer CRC Parts Solvent, its similar to the Safely-Kleen I saw in motorcycle shops.
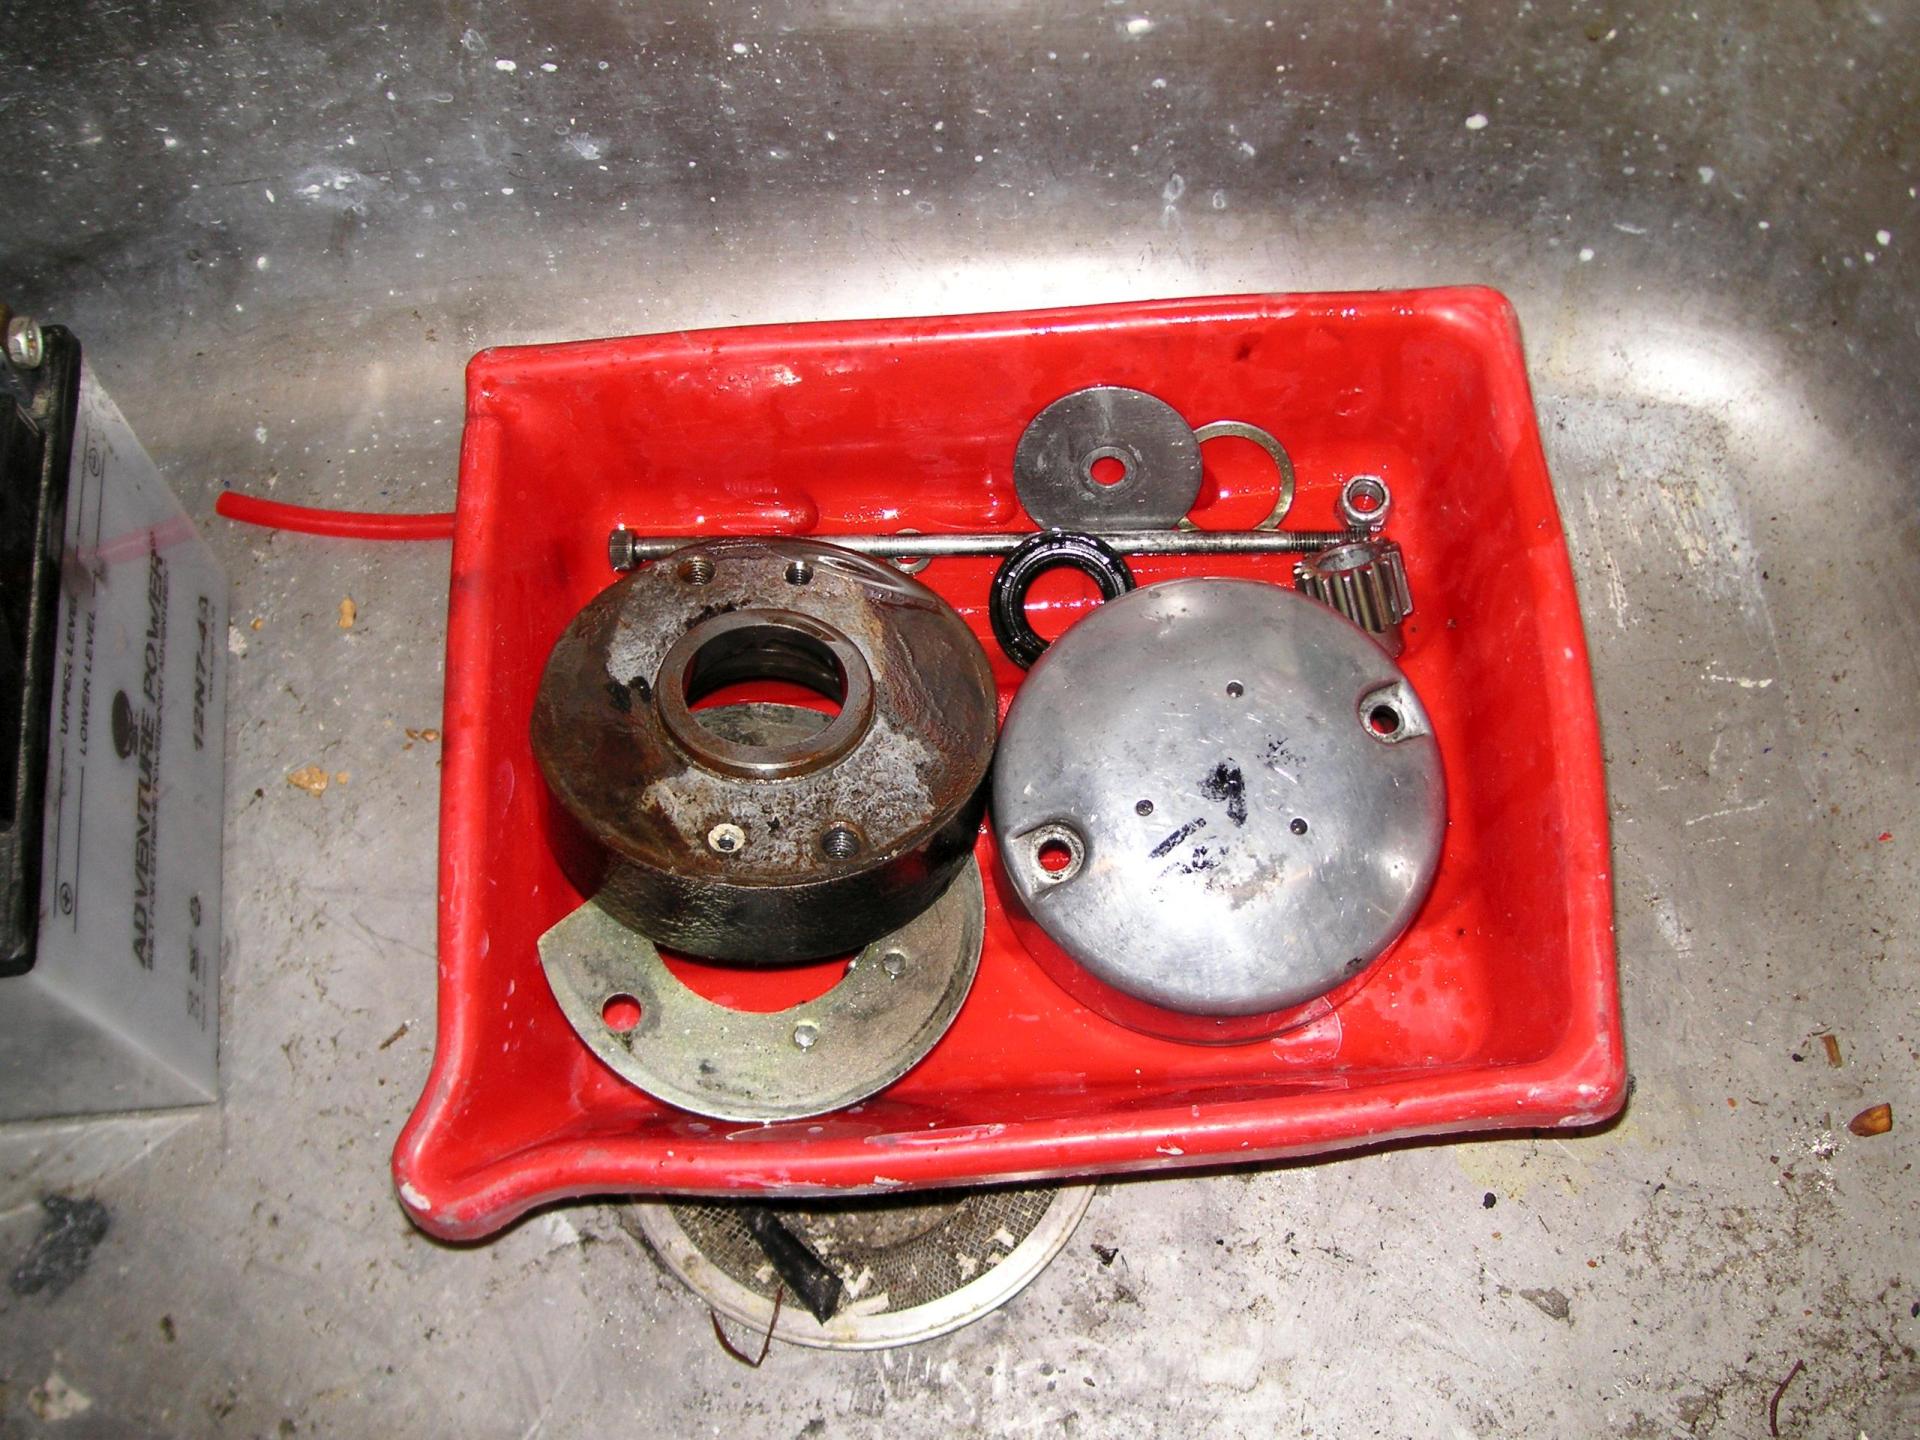
Sportster-65B-generator_025
All these parts got the solvent treatment.
move up a little to the right move down to the left
Sportster-65B-generator_026
The "dry" bin with the frame, armature, and two brushes.
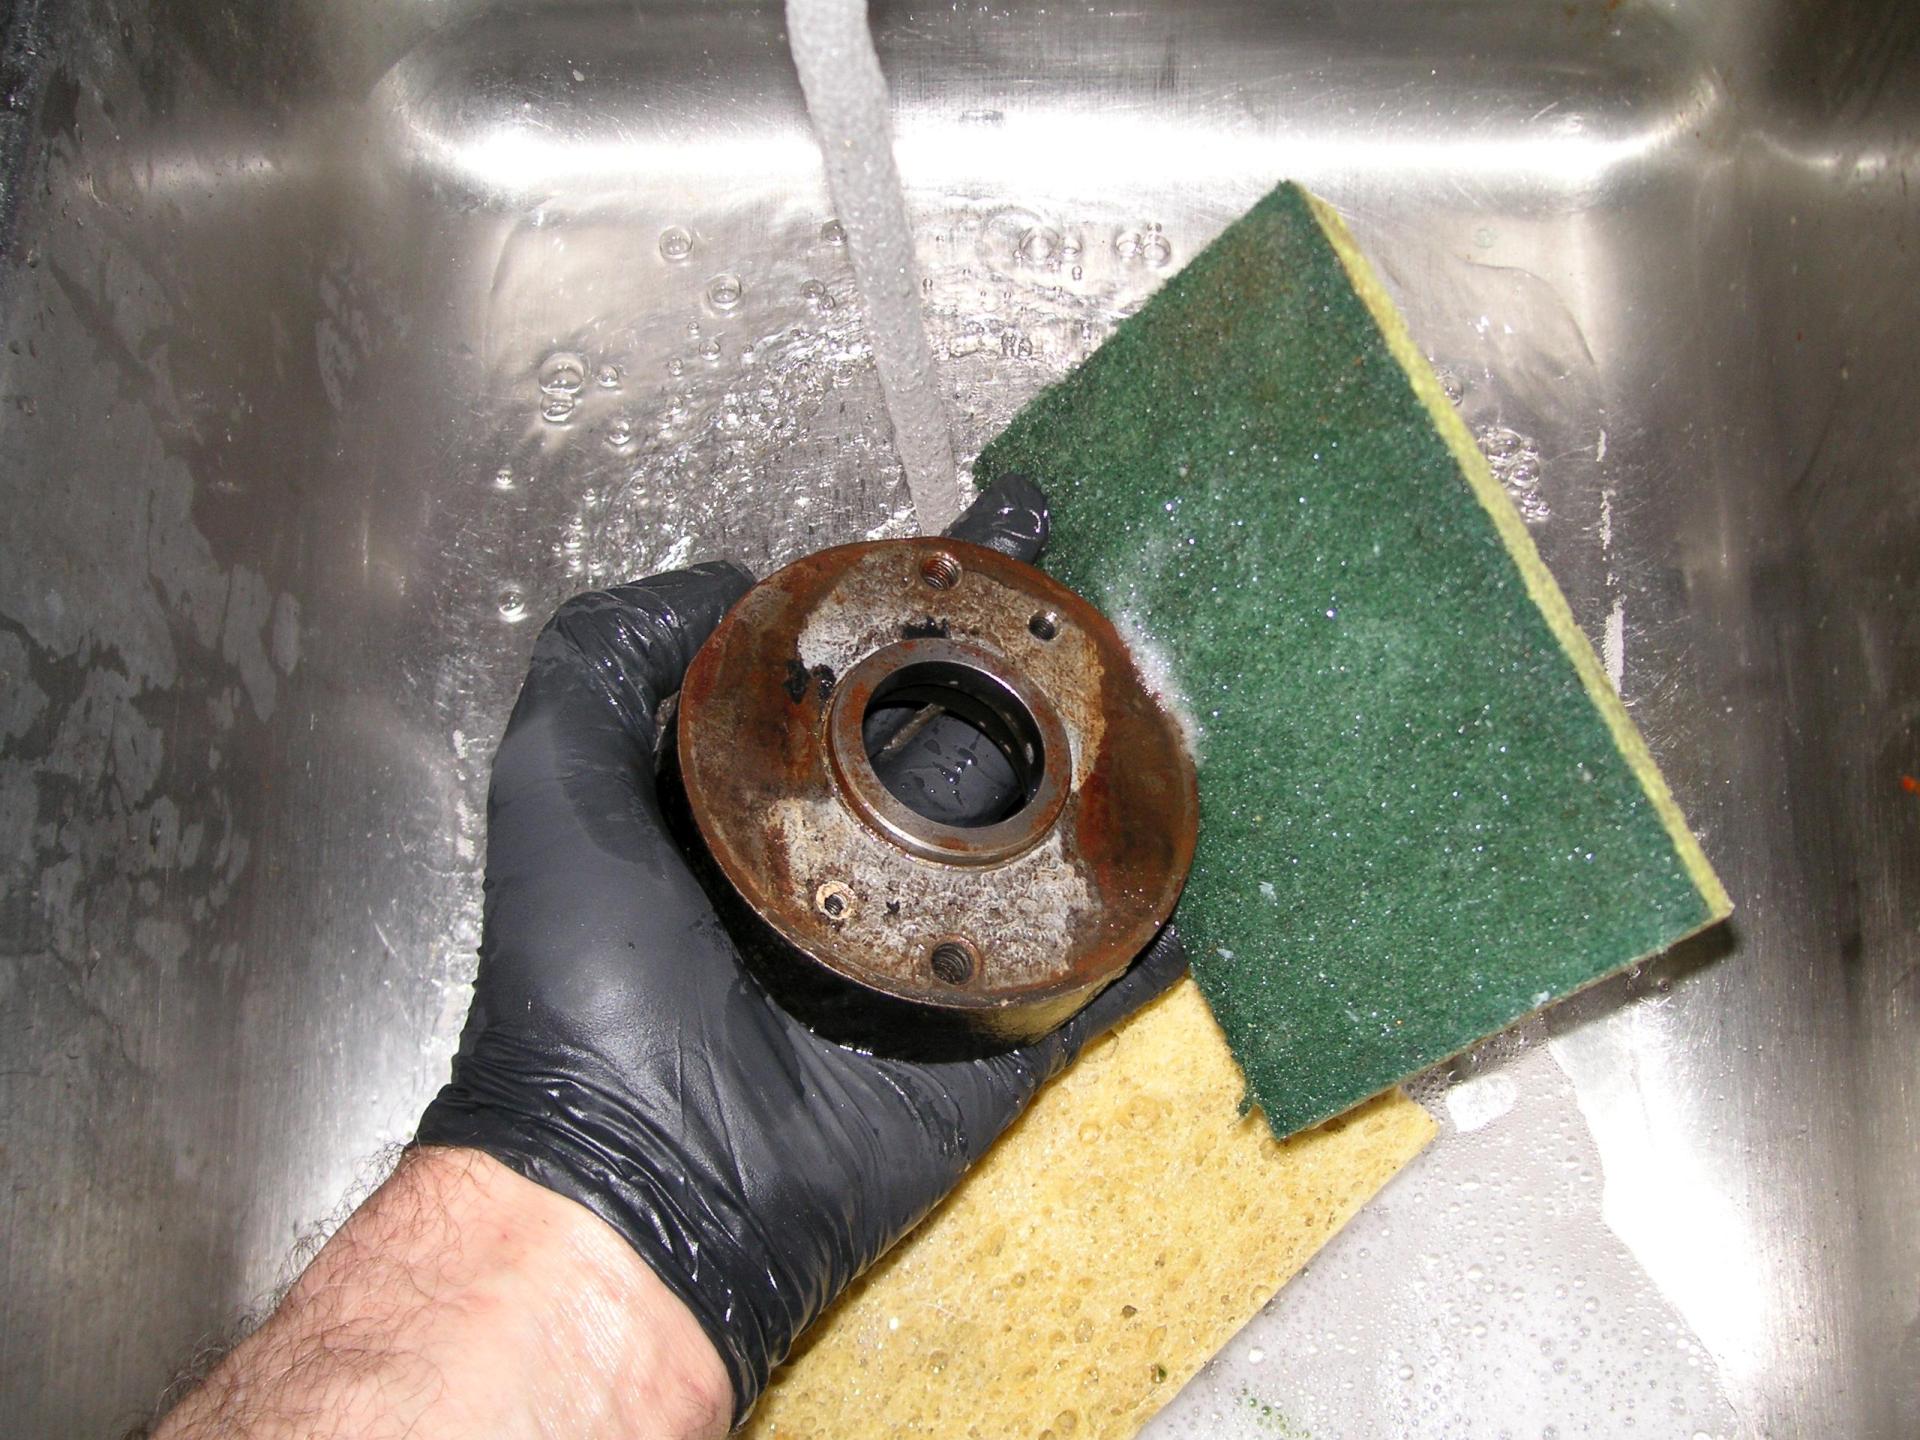
Sportster-65B-generator_027
Washing the solvent off. The end bell had gasket residue that did not scrub off.
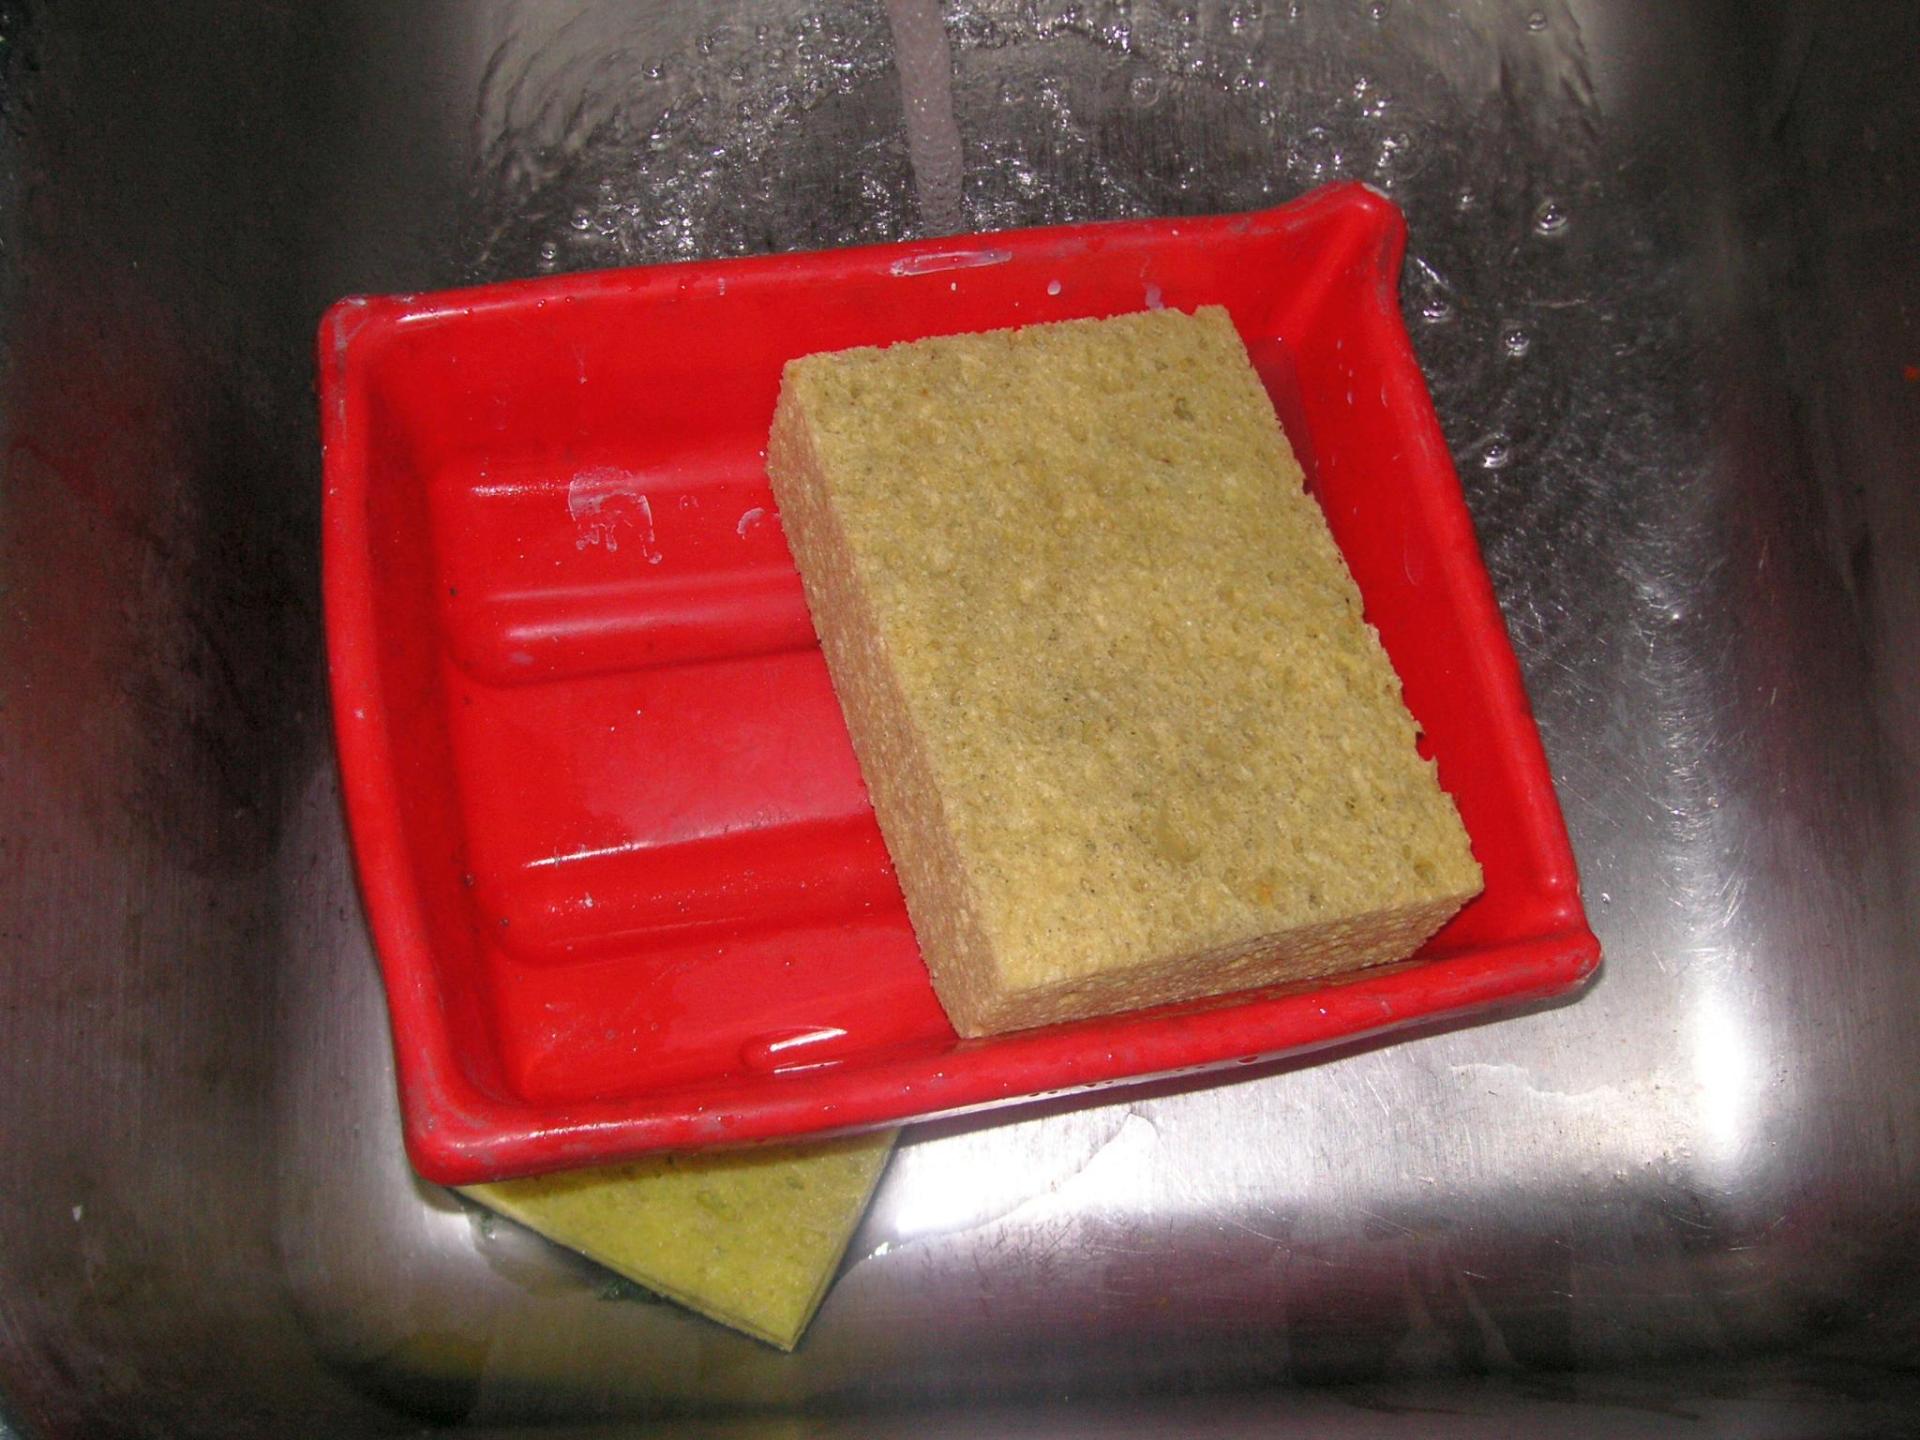
Sportster-65B-generator_028
Be sure to wash out the bins. Get everything spotless, though the sealed bearings in the 65B keep out dirt.
move up a little to the right move down to the left
Sportster-65B-generator_020
I used Miracle Wipes to wipe down the frame and armature. A dry paper towel cleaned up the two brushes.
Sportster-65B-generator_030
Wash and dry the "dry" parts bin.Sportster-65B-generator_031
The cleaned parts that did not go into the solvent tank. I did bead-blast the armature, since it is junk anyway.
move up a little to the right move down to the left
Sportster-65B-generator_032
The wet parts out of the kitchen sink.
Sportster-65B-generator_033
Air blow off, no water should get in the bead blaster.
Sportster-65B-generator_034
You can hold the little parts in your hand while blowing them dry, filtering the air between your fingers. Careful nothing goes flying, you may never find it.
move up a little to the right move down to the left
Sportster-65B-generator_035
The little parts I was holding while blowing them dry.
Sportster-65B-generator_036
My home-made bead blaster. Plywood base with 1/4" Plexiglas on the sides, 3/8" on top, with a glass sheet glued on underneath. Wood frame with window screen to support the parts. Gloves and gun from Summit Air in San Jose decades ago. Uses a air dryer supply, no staining.
Sportster-65B-generator_037
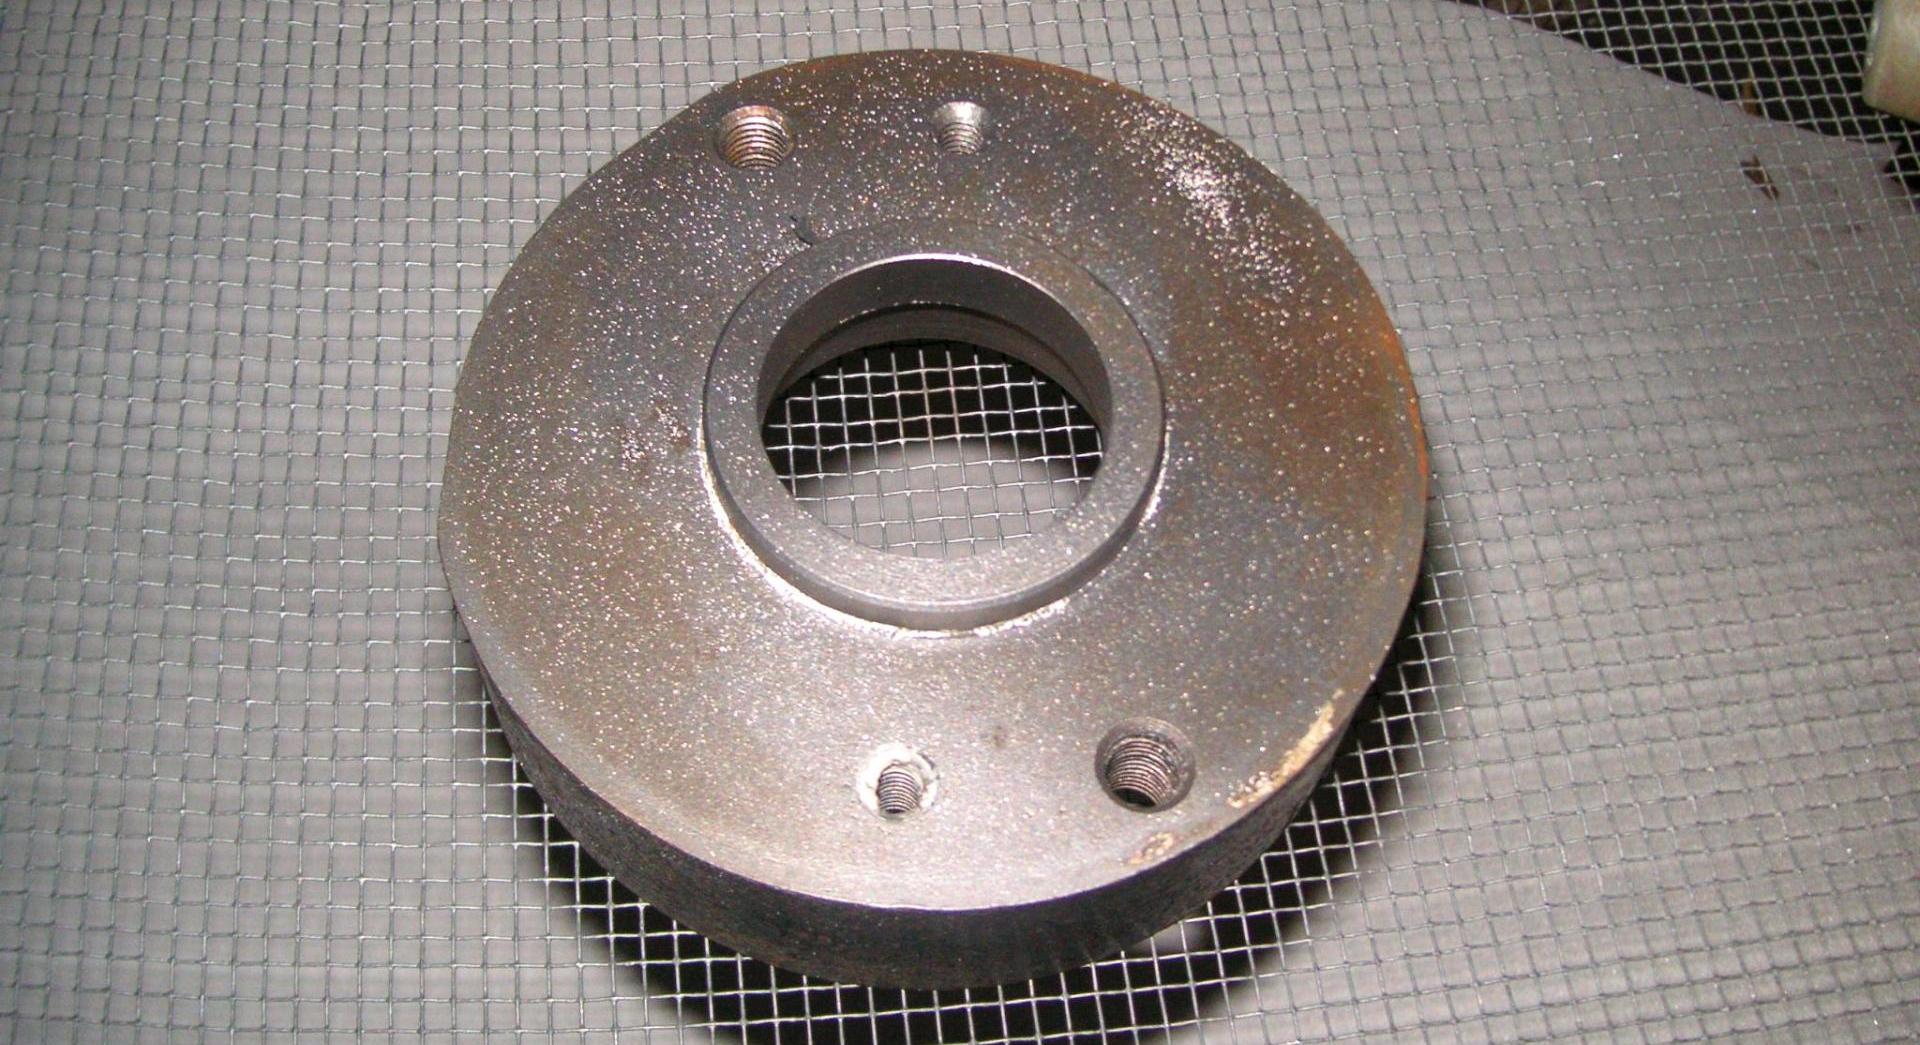
The drive-side end bell before blasting. The gasket glue did not scrub off.
move up a little to the right move down to the left
Sportster-65B-generator_038
The end bell after blasting with #10 beads.Sportster-65B-generator_039Blow off the parts, the tray, your body, and everything else so you don't track beads into your assembly area.
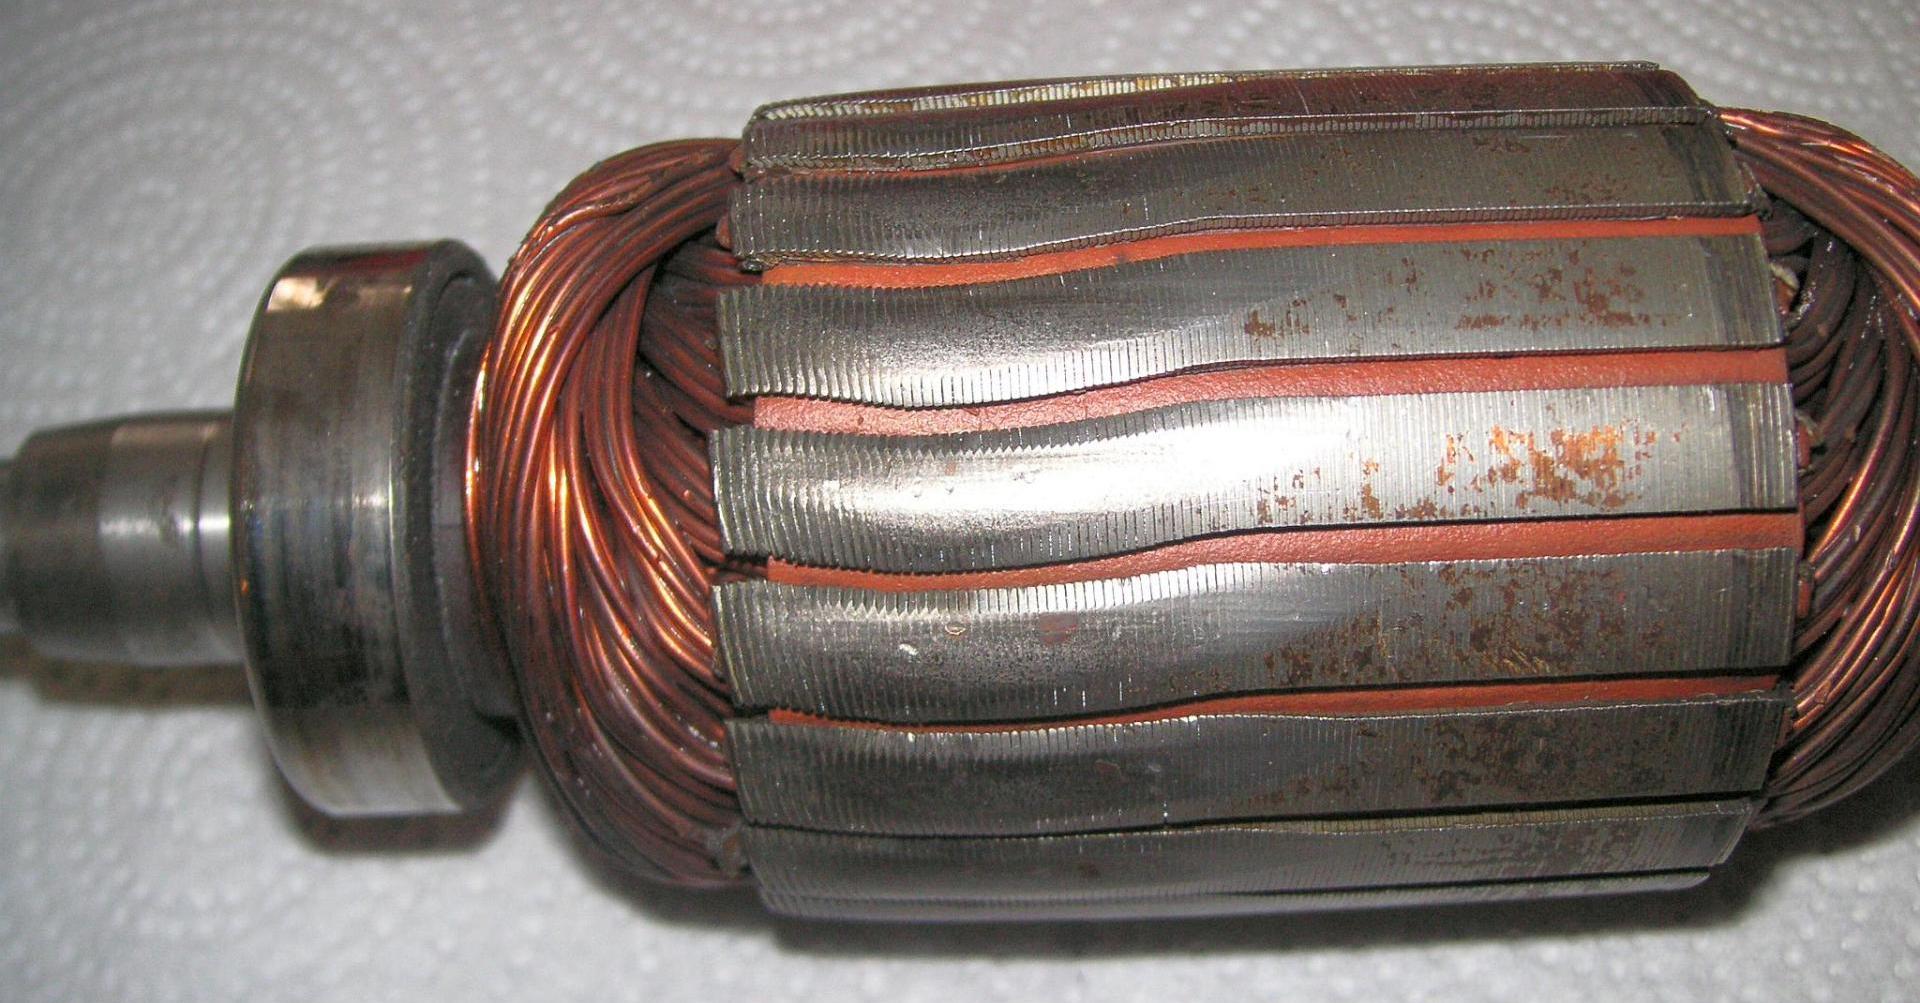
Sportster-65B-generator_040
I blasted the armature since I have never ever seen the lamination get beat into a spiral. This generator had a bolt missing. I have to think the armature was hitting the pole shoes and got beaten into this state. The astonishing thing is the generator still worked. You can see the diameter of the armature is smaller on the left side. Unlike the -65A generator, this armature comes with the bearings pressed on already.
move up a little to the right move down to the left
Sportster-65B-generator_041
I expected damage to the pole shoes, but they look fine, a real mystery.
Sportster-65B-generator_042
Use blue Loctite when replacing coils.
Sportster-65B-generator_043
There are factory NOS replacement armatures available, way nicer than the aftermarket units you get when buying a Model 65A armature.
move up a little to the right move down to the left
Sportster-65B-generator_044
The old armature (top) is obviously damaged, though it still made output.
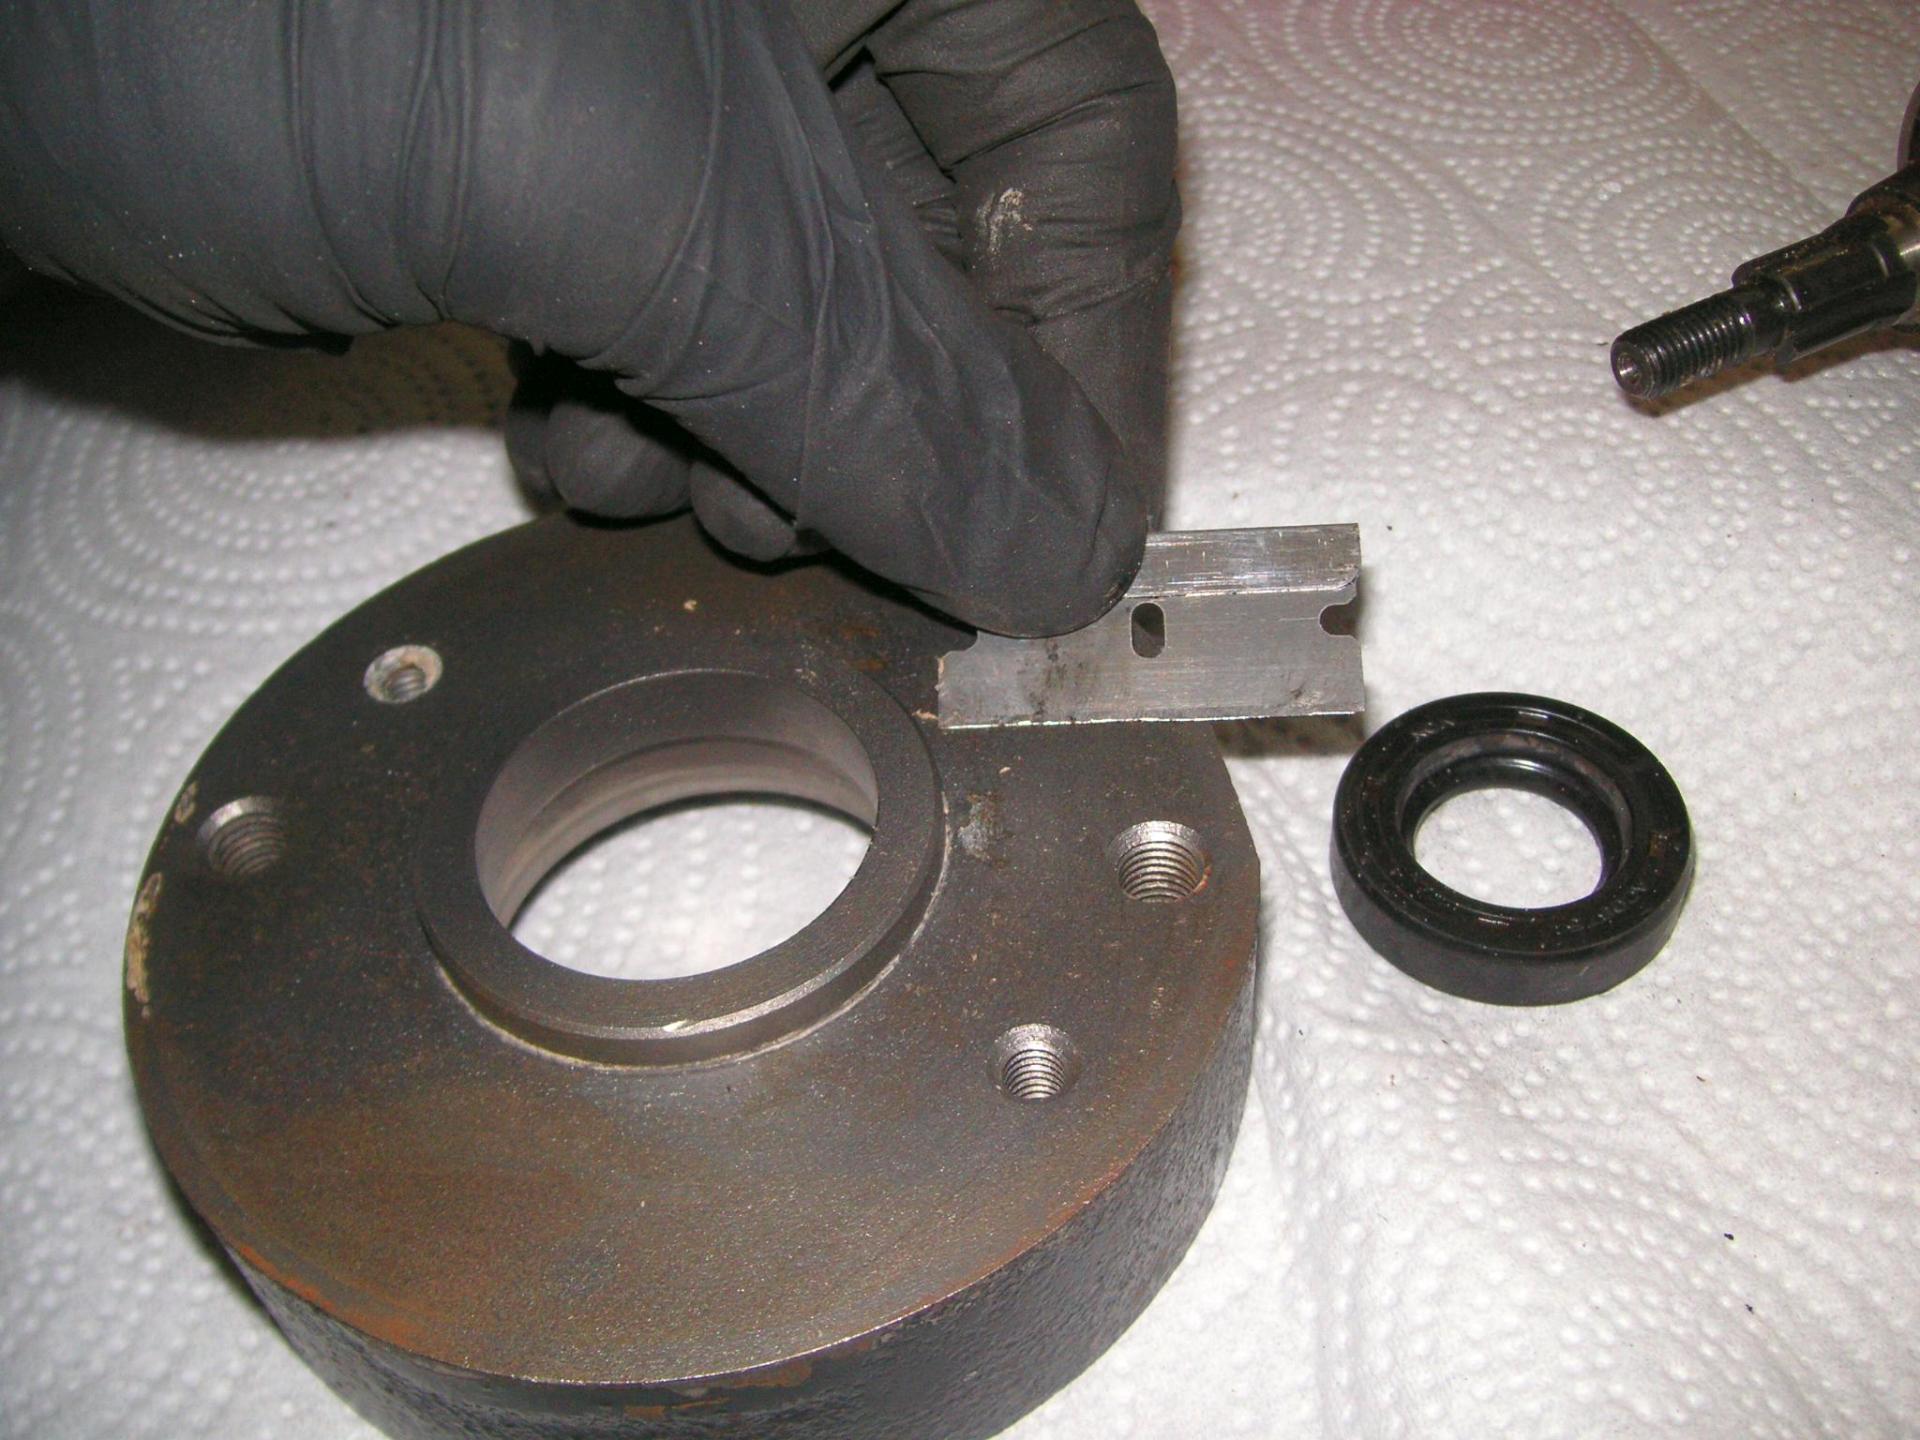
Sportster-65B-generator_045
Bead blasting is not sand blasting. I did not clean some gasket material off, so I get it now. Mating surfaces, perfect.
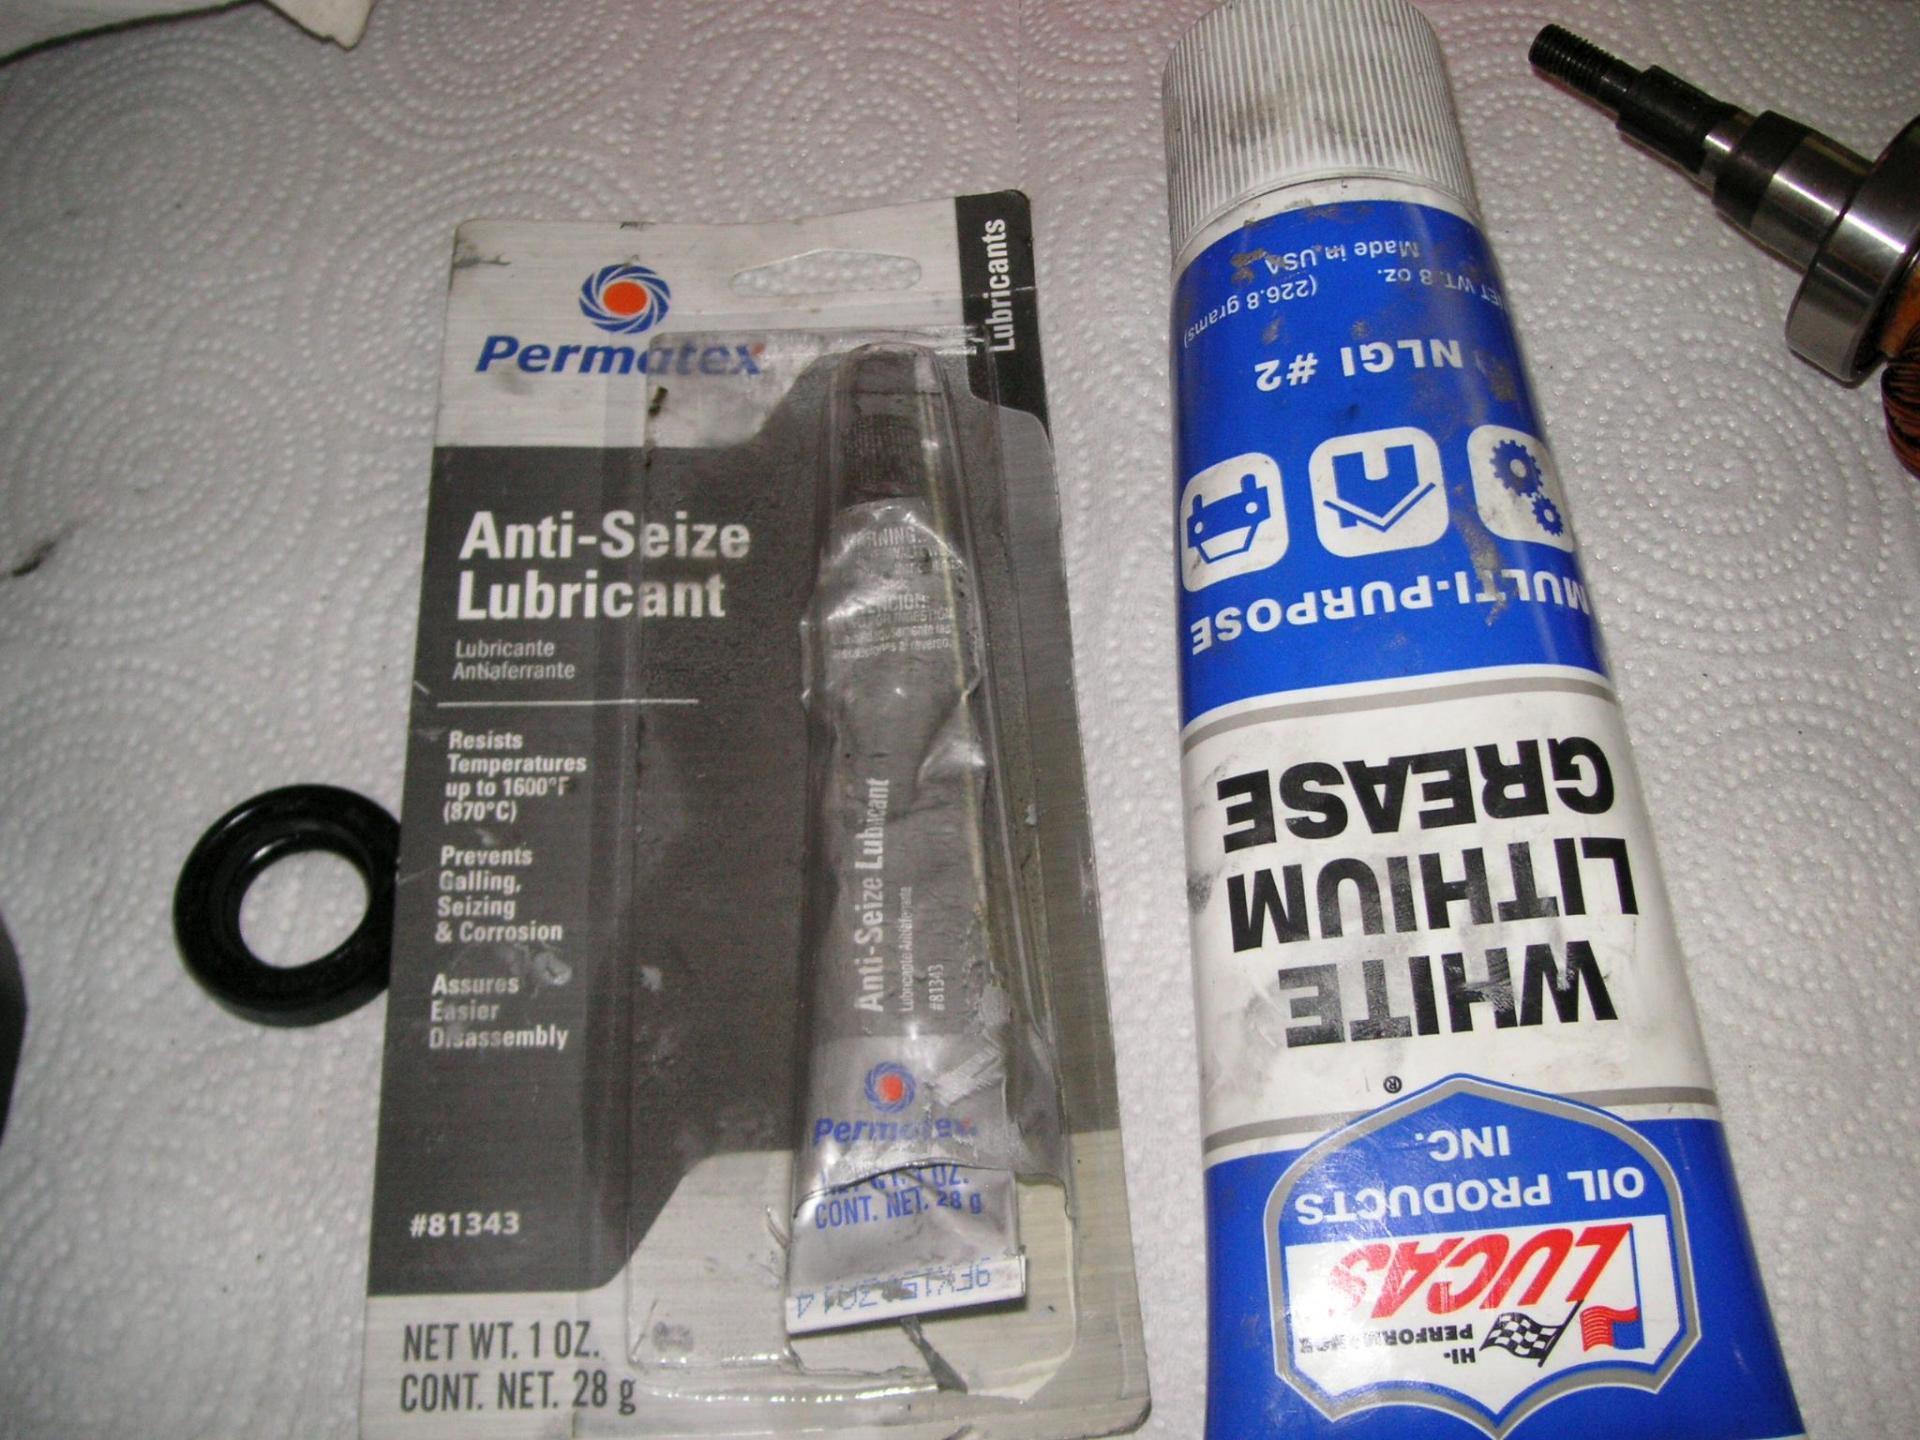
Sportster-65B-generator_046
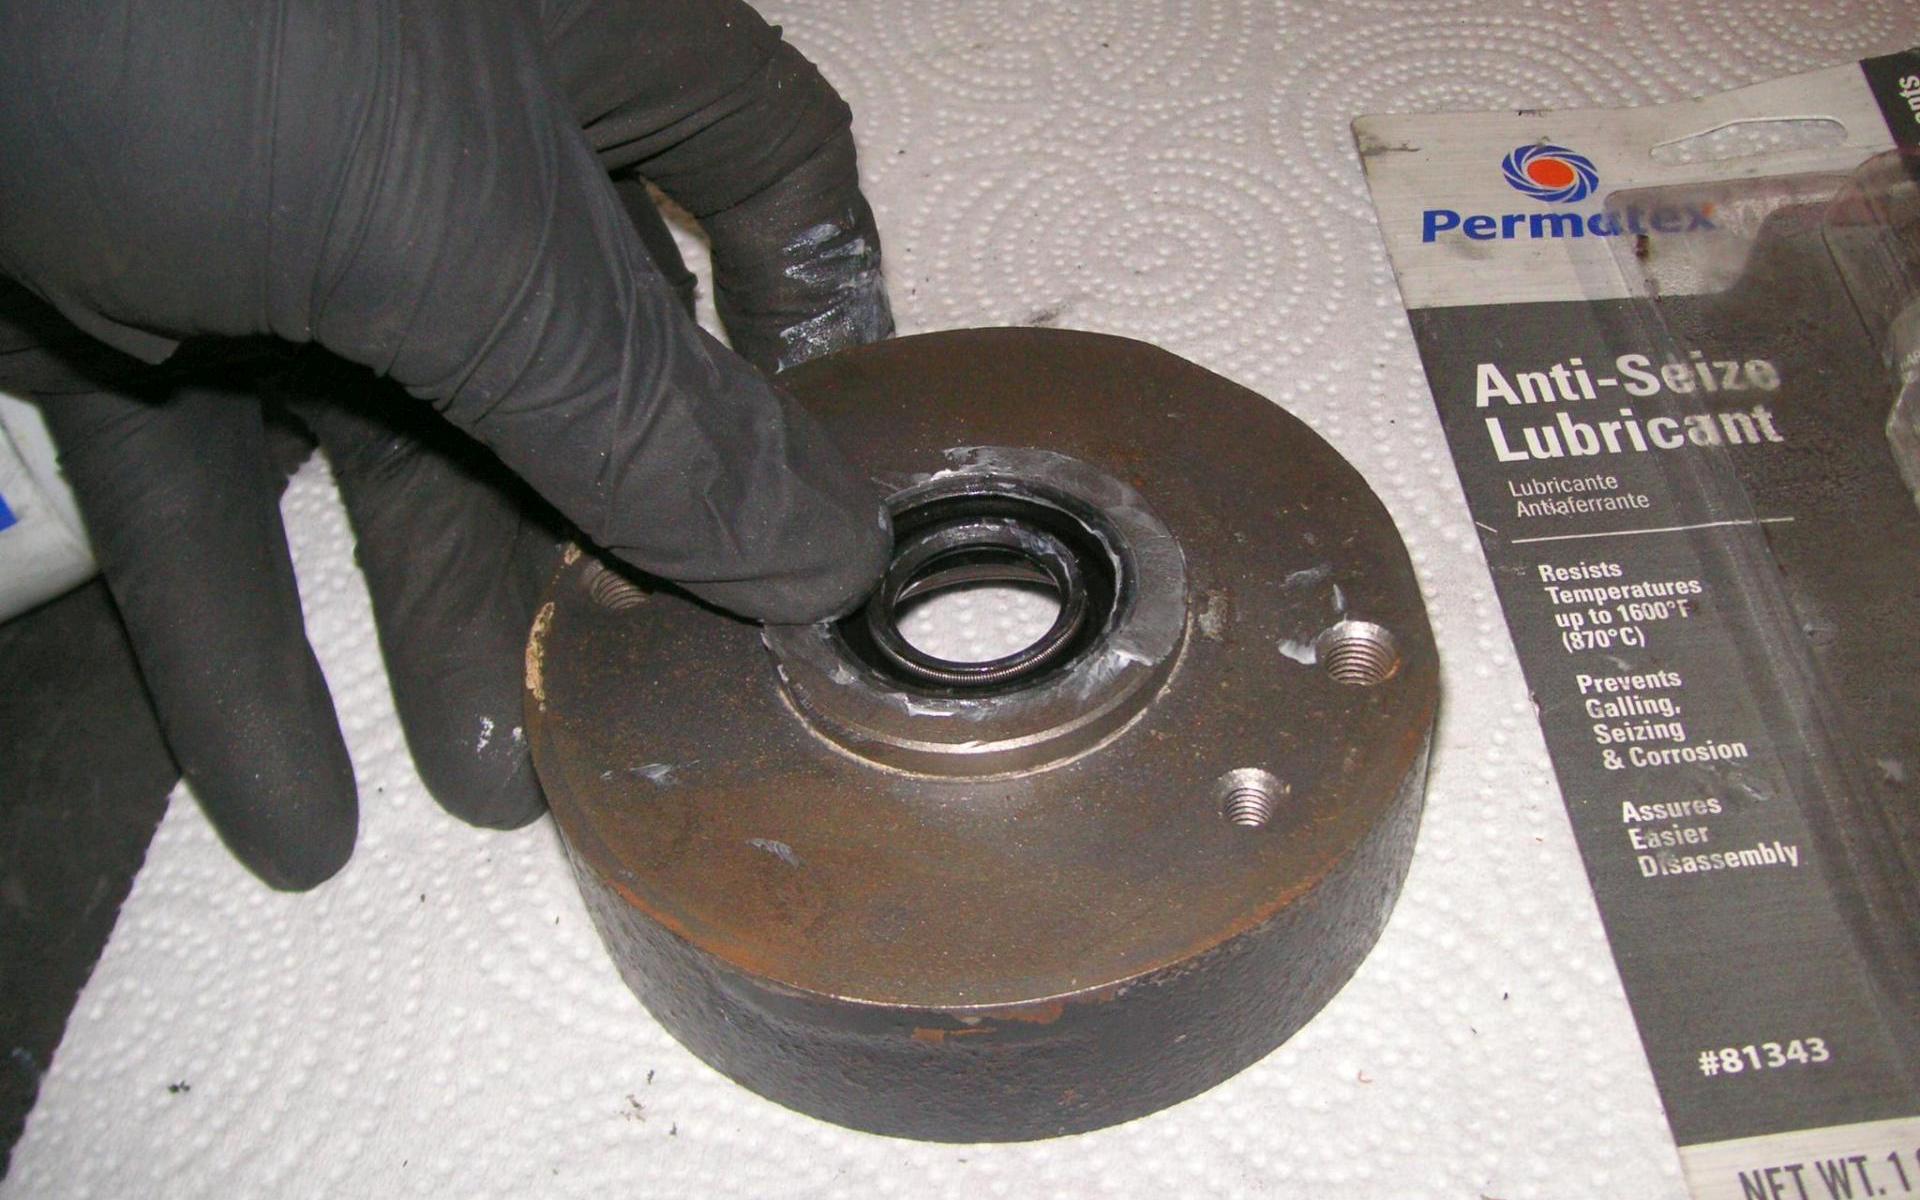
I like anti-seize to press in bearings and seals, while white lithium grease lubricates where the seal runs on the armature shaft. Bearings are sealed and pre-lubricated, at least I hope they are.
move up a little to the right move down to the left
Sportster-65B-generator_047
The seal just pressed in by hand. This might be too loose, maybe Yamabond 4 if the seal moves due to engine pressure.
Sportster-65B-generator_048
Both roll pins were sheared off the frame. I marked the position with a paint pen. The armature just slid into the end bell with hand pressure, good Japanese tight-tolerance precision machining. The lack of roll pins and one bolt might explain the damage to the armature.
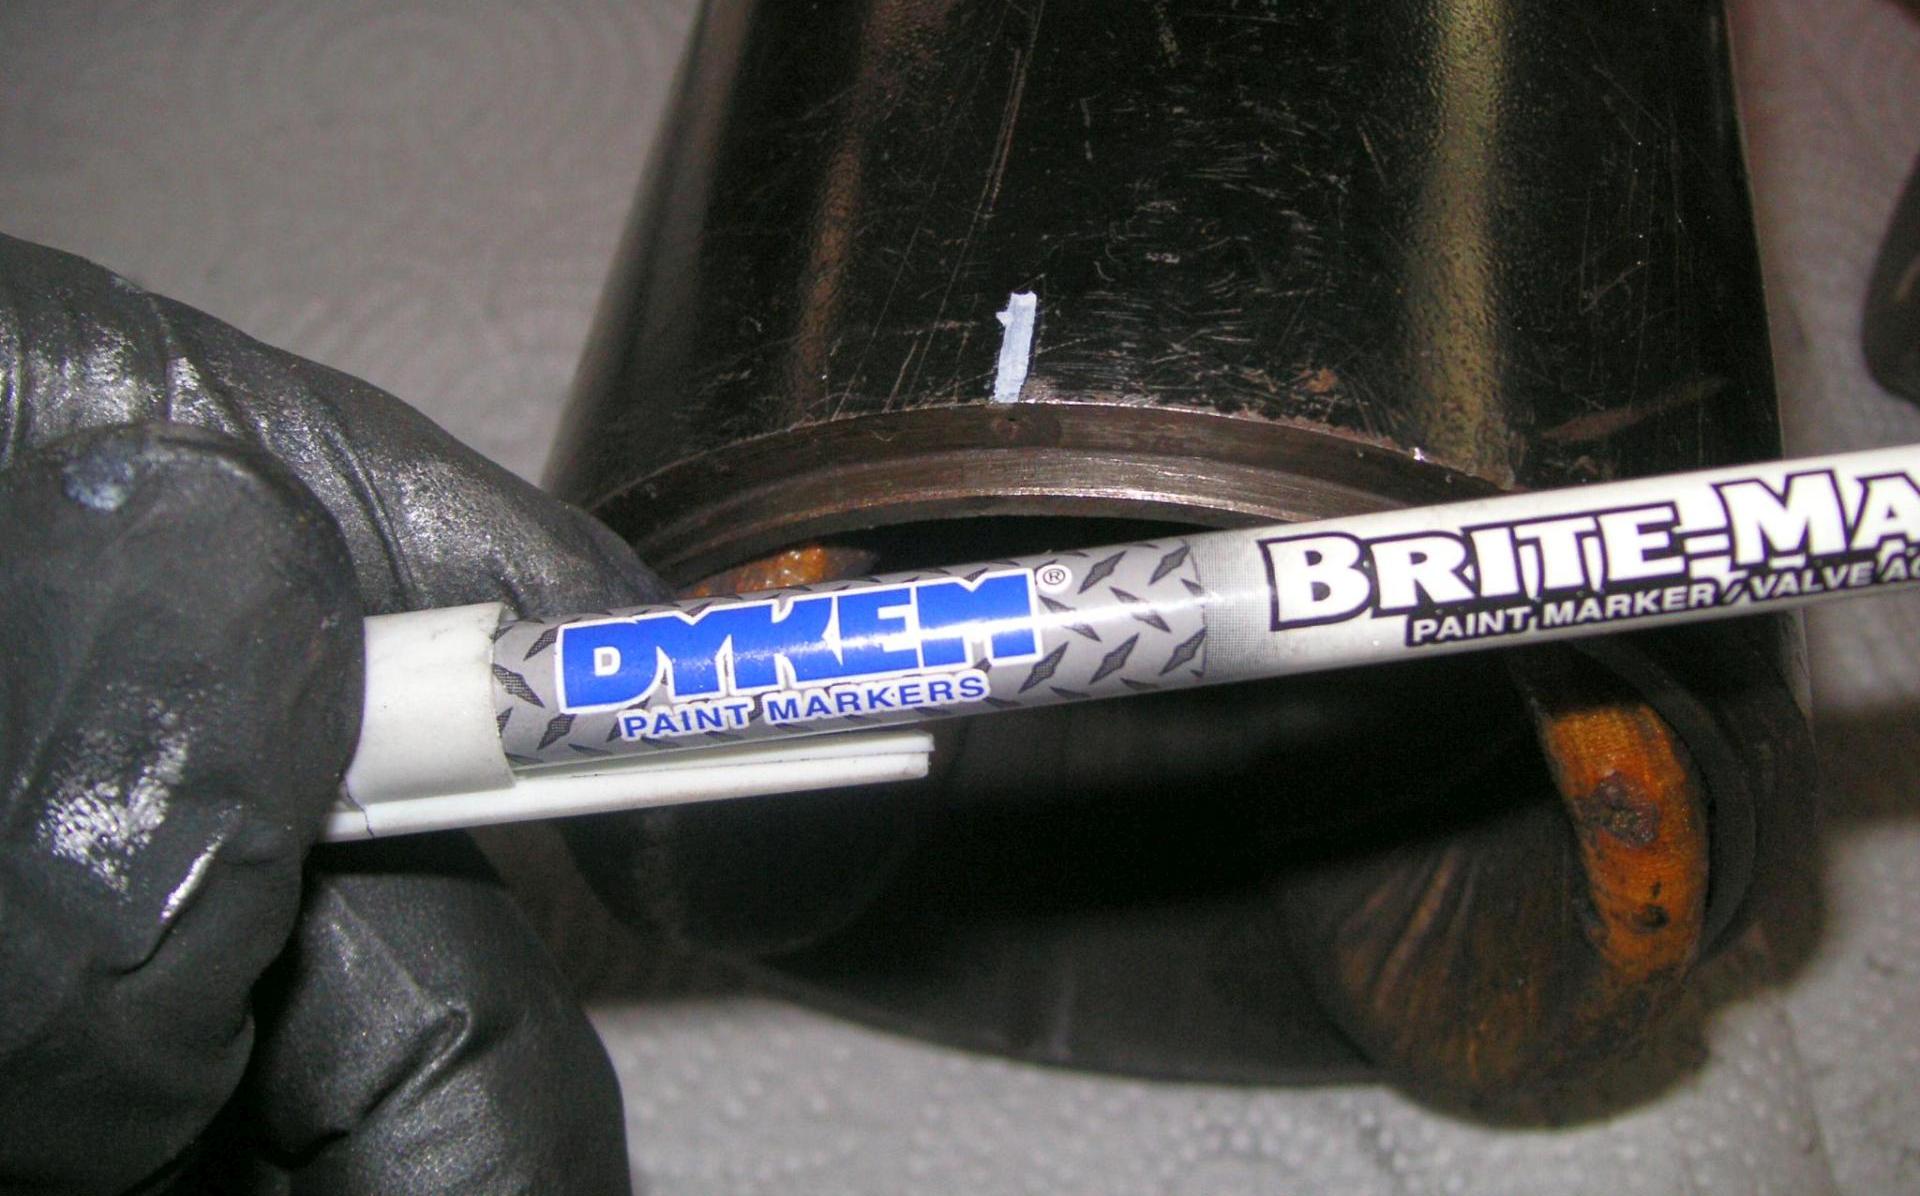
Sportster-65B-generator_049Same deal on the frame, I marked where the roll pin should be. Dykem also makes the red layout fluid everybody loves.
move up a little to the right move down to the left
Sportster-65B-generator_050
An empty can will let you stand the generator upright so you can work on the brush plate. No pounding, good tolerances meant the frame just slipped onto the end bell with out force or hammering.
Sportster-65B-generator_051
The brush plate has one hole egged out do to the lack of roll pins.
Sportster-65B-generator_052
The brushes in the plate but without springs. The wires were coming off the top side of the brush when I took it apart, so same way back together. Let the wires tug the terminal as the brush goes all the way in, and tighten there, to get full travel.
move up a little to the right move down to the left
Sportster-65B-generator_053
A paint mark for where the roll pin should be on the frame. It will be a real problem to get the tiny sheared-off roll pin out.
Sportster-65B-generator_054
Be sure to connect the armature wire coming up out of the frame to the armature brush. It piggybacks on the brush terminal wire.
Sportster-65B-generator_055
Twist and snap the springs on. This is the most miserable job in 30 years. I had to get a headband magnifier, and press on the side of the coil so the opening became big enough to let the tab slip in.
move up a little to the right move down to the left
Sportster-65B-generator_056
This is how the tab fits the torsion spring. It might be easier to put them in with the plate off the armature, then spread the brushes back as you slide the plate in.
Sportster-65B-generator_057
Adjust armature end play to 0.004-0.010 in. Washers are available but expensive, perhaps cam thrust washers would work.
Sportster-65B-generator_058
You can tack washers in place with a dab of lithium grease.
move up a little to the right move down to the left
Sportster-65B-generator_059
A little anti-seize or grease on the bearing and the boss that holds it.
Sportster-65B-generator_060
I had to mark where the roll pin was supposed to go with the paint pen.
Sportster-65B-generator_061
Everything lined up, with the brush plate hopefully staying in place until everything is bolted up.
move up a little to the right move down to the left
Sportster-65B-generator_062
The bolts are metric, but the parts manual calls out a 1/4" lockwasher. They are a bit bigger. Always replace lockwashers, they wear out.
Sportster-65B-generator_063
Anti-seize on the bolts means they won't rust and will come out nicely next time.
Sportster-65B-generator_064
The bolts are metric. They use a 5 mm Allen wrench. With anti-seize you reduce torque specs by 20%. I went on the snug side with this generator since the roll pins were sheared off. No telling what happened. Perhaps one bolt fell off, the other got loose, and the whole generator rotated the frame at speed. It looked like the armature and that hole in the brush plate had been hammered for a long time, not a momentary catastrophe.
move up a little to the right move down to the left
Sportster-65B-generator_065
A bit of anti-seize on the shaft and the hollow part of the drive gear, as well as the threads.
Sportster-65B-generator_066
I prefer Channel-Locs on the gear rather than using an impact wrench for anything.
Sportster-65B-generator_067A 1/2" wrench puts on the gear, oil slinger washer, and flat washer. 5/16-24 thread.
move up a little to the right move down to the left
Sportster-65B-generator_068
The generator ready to install. The terminals are metric, not like the old Model 65A generators, so be sure to put on metric nuts. With that big oil slinger washer on the gear, you have to tilt the end of the generator way down to get the washer over the gear inside your cam cover. The parts tray has the one lock-washer we replaced and the armature that was replaced. I have the second bolt on order. This still needs a new set of brushes, I will order those right now, part number 29913-82, NOS on eBay, 23 bucks a pair.
Sportster-65B-generator_068a
The terminals are metric, M5, 0.80 pitch. I tried cleaning them up with a triangular file then found I had the die. A 5/16 nut-driver will fit the nuts, and does help start them. Internal #10 lock-washers will fit.
After all these years, I have tried to stop having half-broken stuff in my parts stash. The goal is to have everything ready for service. I have seven of these 65B generators hoping to put them on all of my Iron Sportsters. I will report back on how much you have to grind the case to get then to fit on pre-1982 bikes.
move up a little to the right move down to the left
Sportster-65B-generator_070
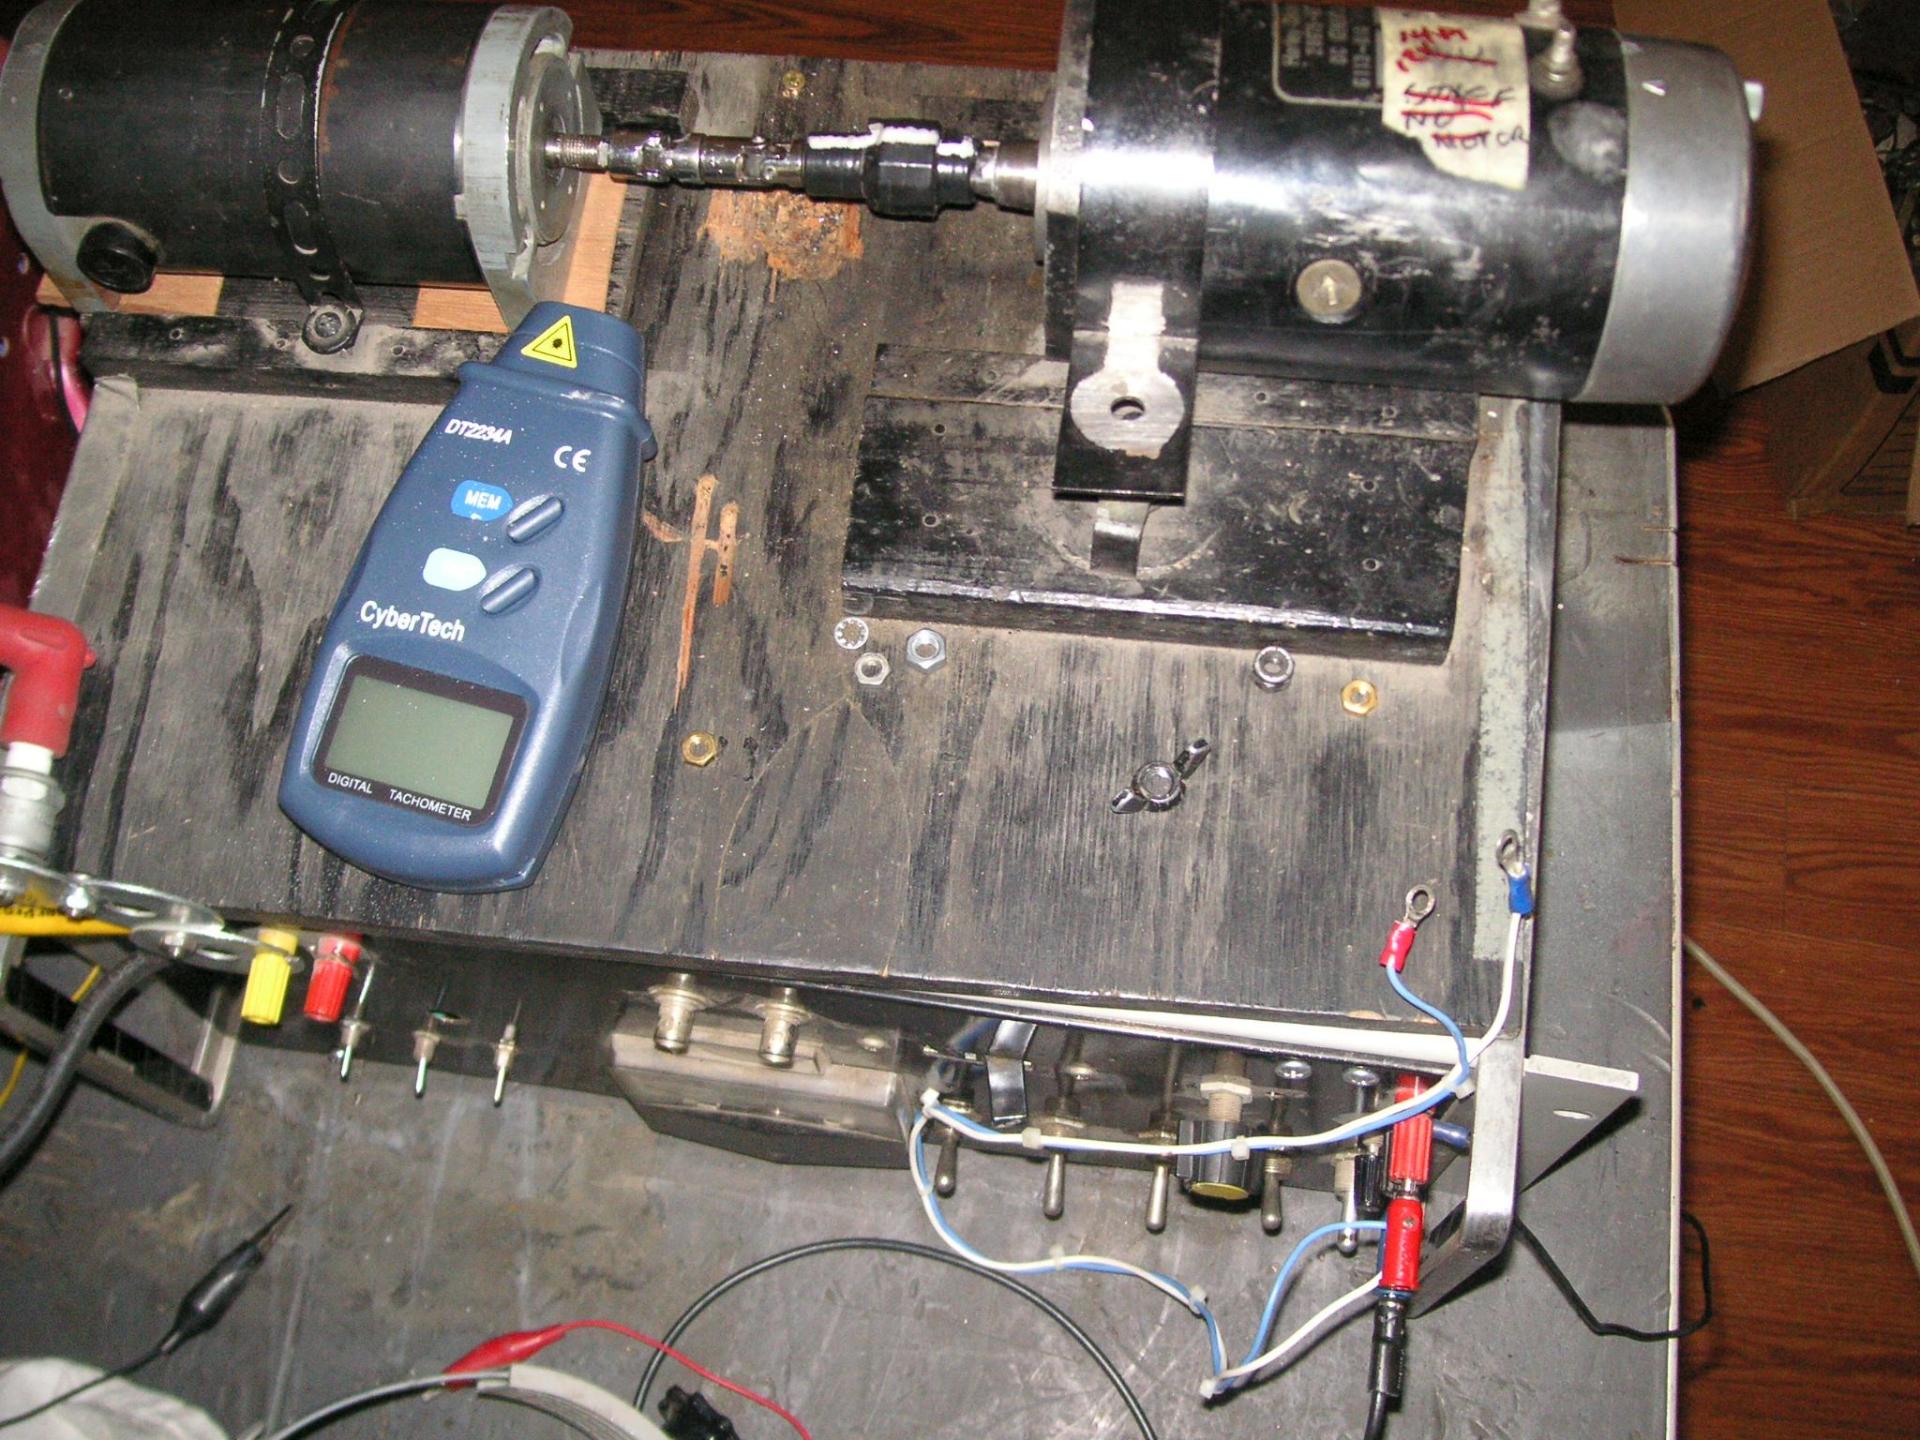
I built this generator tester decades ago. It uses a 115V DC motor to spin the generator. I used to use a rubber hose to connect the motor to the generator, but a YouTube comment made me realize I could braze a 1/4" drive 7/16" socket to an old gear, and file the shaft of the motor to to have a 1/4" square end. I drive the socket with two universal drives to allow for misalignment. It works great.
Sportster-65B-generator_071
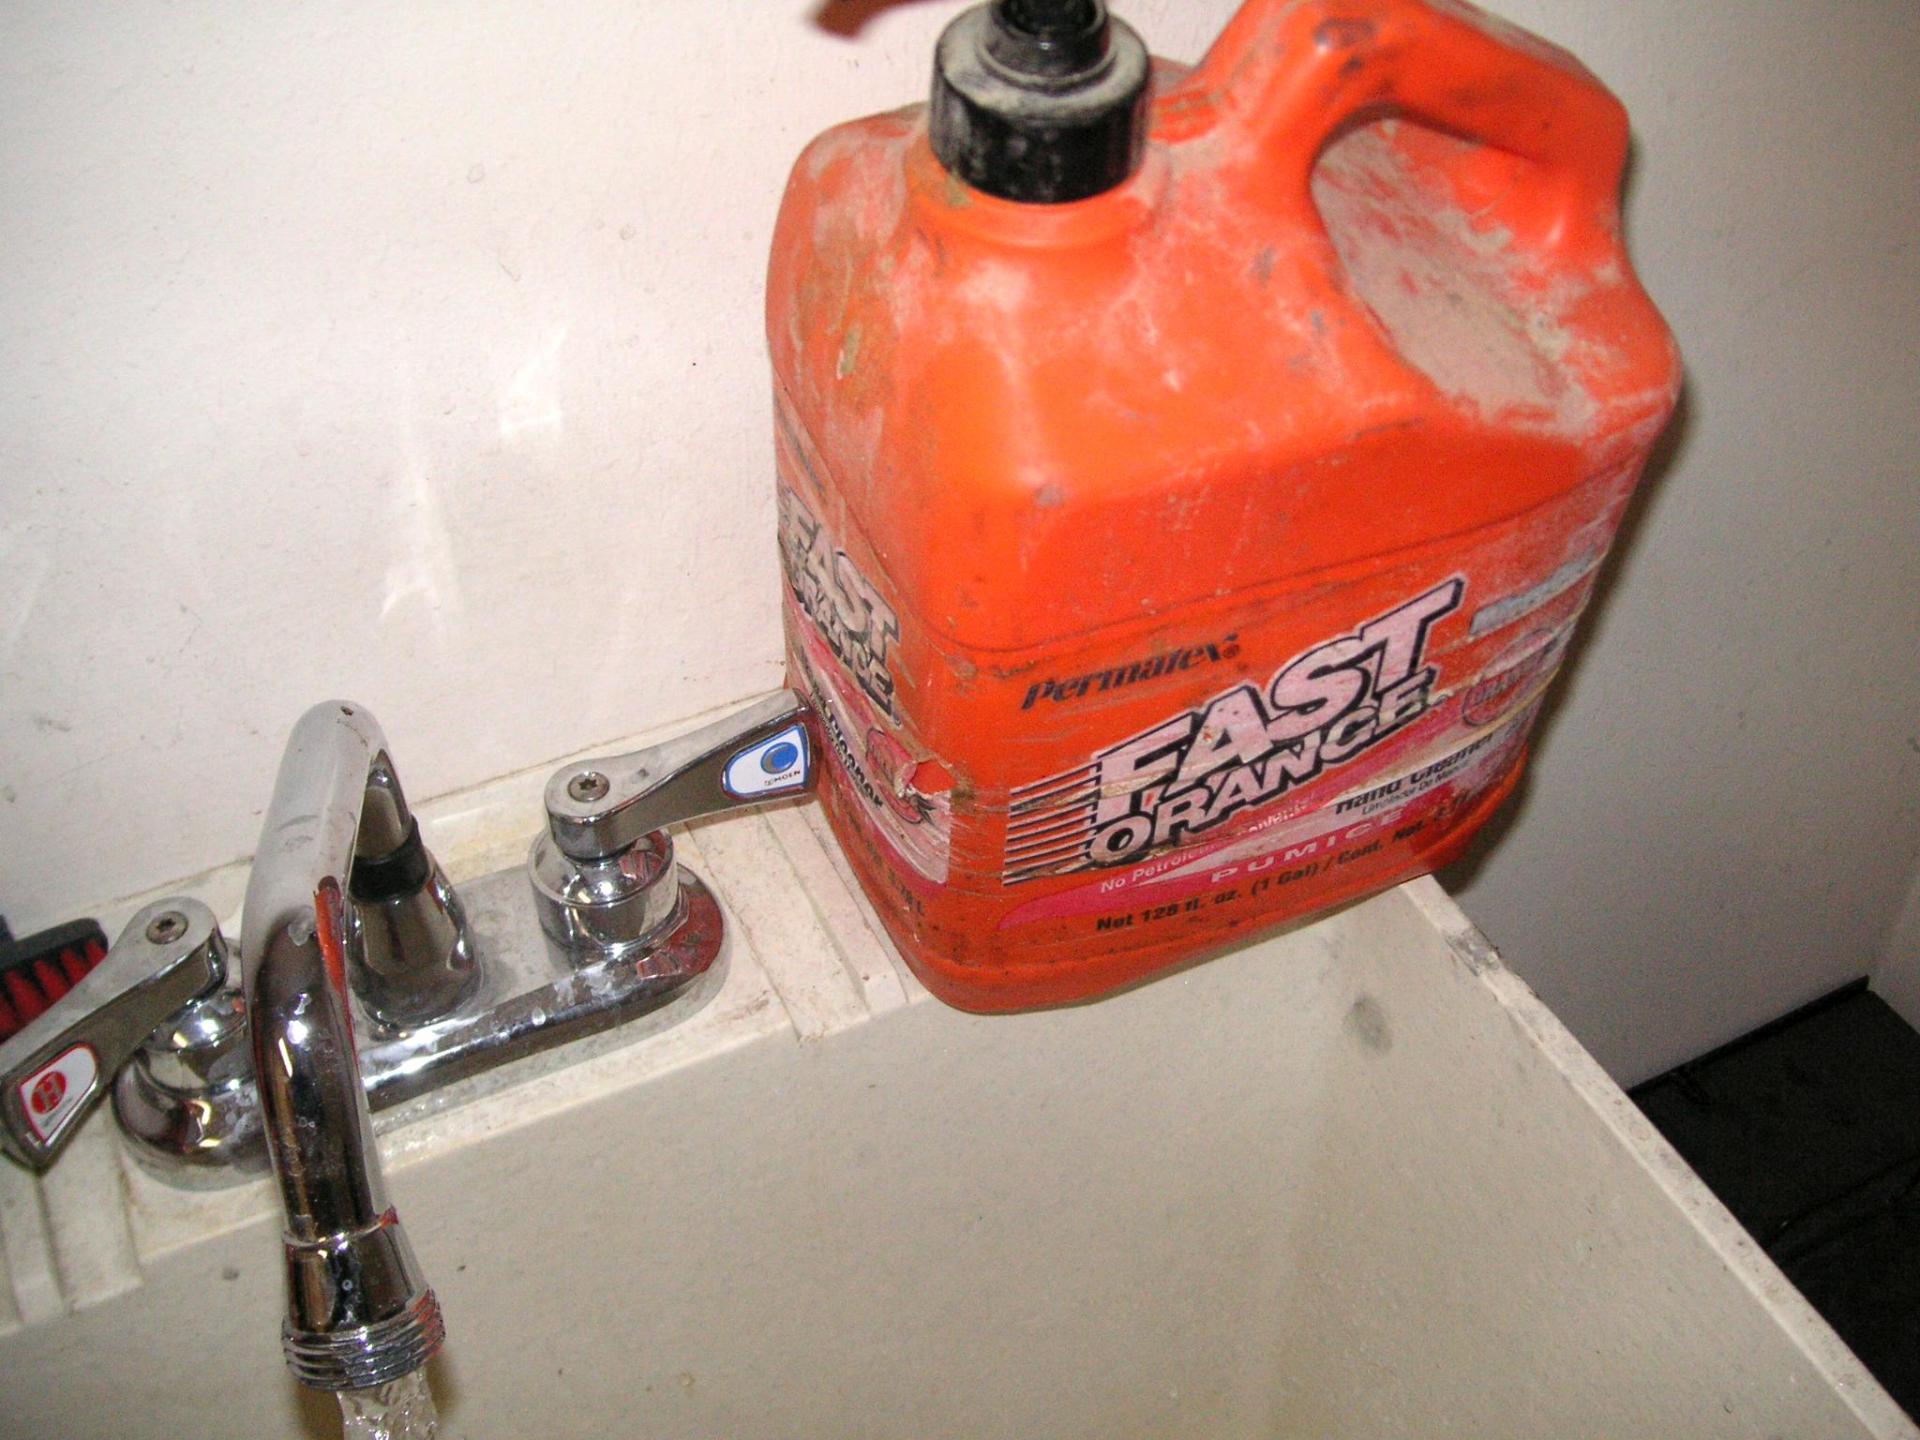
While doing the job I often clean my hands with this pumice Fast Orange cleaner. Do watch out none of that pumice gets into what you are working on. I should wear gloves more, but I still prefer bare hands.I messed up my thumb fingerprint so bad it took 20 tries to unlock my phone. Time to see if I can turn that fingerprint reader off, I rarely use the phone.
move up a little to the right This is the end.


This post is in these categories:


border bar
Bottom of first column This is the end.